
Deixe de Gerir Ficheiros: Como Construir a Sua Própria "Nuvem de Criador" em 3 Passos Simples


Introdução
Todo criador conhece a luta: senta-se com uma ideia nova, mas em vez de criar, passa a primeira hora a importar filmagens, a renomear pastas e a lutar com o armazenamento. Quando finalmente termina, a inspiração já desapareceu.
Nesta reportagem, destacamos um excelente projeto de Scott, do Alpha Nerd Tech. Ele desenhou uma solução para o "caos dos ficheiros" — uma Cloud Privada automatizada para criadores, alimentada pelo ZimaBoard 2. Isto não é apenas uma demonstração de um laboratório caseiro; é uma ferramenta prática de fluxo de trabalho concebida para funcionar discretamente em segundo plano. Agradecemos sinceramente ao Scott por partilhar esta solução inovadora com a comunidade. A seguir, transcrevemos e refinamos o seu processo num guia passo a passo para o ajudar a recuperar o seu tempo criativo.
O Problema: Quando "Montes" Matam a Criatividade 📉
Scott explica na perfeição: "Sempre que me sento para criar, acabo por gerir ficheiros em vez disso."
Seja fotógrafo, editor de vídeo ou engenheiro de áudio, ativos dispersos são o inimigo. A maioria de nós não tem um sistema; temos "montes" de dados digitais. O objetivo deste projeto é construir um sistema que trate automaticamente das tarefas aborrecidas — importar, organizar e fazer backup.
A solução é um servidor privado que oferece segurança, consistência e zero atrito.
O Hardware: Pequeno, Silencioso e Eficiente ⚙️
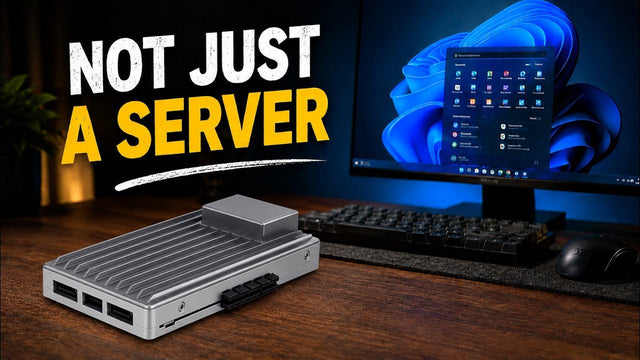
Para esta construção, o coração da operação é o ZimaBoard 2 (Modelo 1664). Este Servidor de Placa Única (SBS) foi escolhido especificamente por ser sem ventoinha e compacto.
Lista de Componentes:
- Núcleo: ZimaBoard 2 (Intel N100, 16GB RAM, 64GB eMMC).
- Armazenamento: 2x Western Digital Red Plus 4TB HDDs.
- Conectividade: Kit PCIe Riser e Cabos SATA em Y.
- Rede: Ethernet 2.5GbE (Padrão no ZimaBoard).
"É incrível como isto é silencioso. Ouço o relógio a fazer tique-taque na parede mais alto do que qualquer ruído vindo deste ZimaBoard 2." — Scott

Passo 1: A Fundação e Configuração do Armazenamento 🛠️
Após um rápido login no ZimaOS e garantir que o sistema está totalmente atualizado, o primeiro passo é preparar o armazenamento. Para este fluxo de trabalho específico, o Scott configurou um pool RAID 0 para maximizar a velocidade e utilizar os 8TB completos para o cache de media.
Depois de montar os discos, entramos no terminal para configurar a arquitetura.
- Aceder ao Terminal: Faça login via SSH ou use uma aplicação de terminal dentro do sistema operativo.
- Verificar Armazenamento: Use o comando lsblk (listar dispositivos de bloco) ou df -h (disco livre - formato legível) para encontrar o nome do seu pool de armazenamento.
- Criar a Estrutura de Diretórios: Em vez de clicar com o botão direito e criar pastas manualmente, usamos a linha de comandos para maior rapidez.
mkdir -p /files/creator_cloud/{ingest,library/{photos,video},scripts,logs}
Este único comando cria toda a estrutura do seu fluxo de trabalho: uma pasta "Ingest" para os dumps brutos, uma "Library" para media organizada e pastas para logs do sistema e scripts.
Passo 2: Automatizar o Processo de "Ingestão" 🤖
A magia acontece com um simples script Bash. O objetivo é copiar ficheiros de um cartão SD para o servidor imediatamente, sem abrir um portátil.
Lógica do Script (ingest.sh):
Scott criou um script usando o nano (um editor de texto em linha de comandos). Embora o código completo seja personalizável, a função principal usa comandos rsync ou cp para mover dados do ponto de montagem do USB/cartão SD detetado (ex.: /DCIM) diretamente para a pasta /files/creator_cloud/ingest.
- Tornar Executável: Depois de guardar o script, deve indicar ao sistema que pode ser executado como programa. chmod +x ingest.sh (Mudar Permissões + Executável)

Agora, quando o script é executado, os ficheiros voam do cartão da câmara para o ZimaBoard 2 instantaneamente.
Passo 3: O Bónus "Preguiçoso" – Criar um Alias ⚡
Para facilitar ainda mais, Scott adicionou um atalho para não ter de escrever o caminho completo do ficheiro sempre.
- Abra a configuração do seu shell: nano .bashrc
- Adicione um alias no final: alias ingest='~/scripts/ingest.sh'
- Recarregue a configuração: source .bashrc
Agora, basta escrever a palavra ingest para disparar todo o processo de backup.

E Agora? O Futuro da Creator Cloud 🚀
Isto é apenas a base. O ZimaBoard 2 está atualmente a tratar dos backups brutos, mas o roteiro para a "Creator Cloud" é ambicioso.
Nos próximos episódios, Scott planeia implementar:
- Ingestão Totalmente Automática: O script será disparado automaticamente no momento em que um cartão SD for inserido (usando regras udev).
- Organização por IA: Usar o poder de processamento do N100 para organizar automaticamente ficheiros por data, localização e tipo de media.
- Backup Móvel: Sincronização automática de fotos de um iPhone ao entrar no estúdio.
Ao delegar a gestão de ficheiros a uma cloud privada para criadores dedicada, deixa de ser um funcionário de ficheiros e volta a ser um criador.
Pronto para construir o seu próprio fluxo de trabalho? Veja o ZimaBoard 2 na nossa loja e junte-se à comunidade para partilhar os seus próprios scripts de automação!

Produtos recomendados

Centro de Campanhas Zima
Mais para Ler
Como a SjslTech Transforma o ZimaBoard 2 Numa Área de Trabalho Windows 11
Veja a SjslTech instalar o Windows 11 no ZimaBoard 2 e testar vídeo 4K, Office, DaVinci Resolve, Minecraft, jogos leves e consumo de energia.

Como a CYBERTECH 2099 Testa o ZimaBoard 2 como NAS Pessoal e Nuvem Privada
CYBERTECH 2099 testa o ZimaBoard 2 como um NAS pessoal acessível e nuvem privada, abordando o hardware, a configuração do ZimaOS, streaming de media...
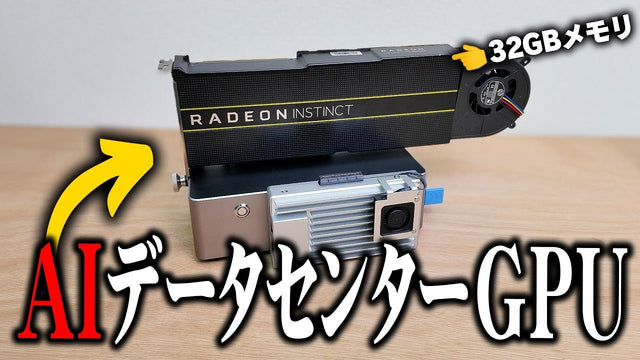
Como a Zero Noichi Executa IA Local no ZimaBoard 2 com um AMD MI50 de 32GB
Veja como o Zero Noichi combina o ZimaBoard 2 com uma AMD MI50 recondicionada de 32GB para executar IA local, gerar um site e...


