
Where to Place a Home Assistant Server for Cooling, Cabling, and Maintenance


Place the Home Assistant server where cool air, short dependable network paths, protected power, and hands-on maintenance can coexist.
A central closet may simplify Ethernet but trap heat; an office may improve access while adding noise; a utility room may offer space but introduce dust, moisture, or radio attenuation. The best location is therefore a measured compromise. It must keep the host and network stable during peak load, allow coordinators to reach devices, and let someone replace storage or inspect the UPS without dismantling unrelated infrastructure.
Measure the Candidate Location Before Moving Hardware
Start with inlet temperature at the point where the host draws air, not the room thermostat. Log normal and warm-day conditions, note humidity or condensation risk, inspect dust sources, and measure clearance around intake and exhaust. Eliminate enclosed furniture, wet areas, and locations where household activity can cover vents or pull cables.
A server-room layout case explains that hot exhaust recirculating into equipment intake raises temperatures and recommends measuring at several rack heights. A home installation is smaller, but the mechanism transfers: the sensor belongs at the equipment air path, and a single room-average reading can miss a warm pocket inside a closet or cabinet.
Also record acoustic tolerance and physical security. A bedroom location may pass temperature but fail sleep or accidental-access requirements. A locked utility space may protect equipment but slow emergency service. Keep only candidates that meet the household’s safety, noise, and access boundaries before optimizing cable length.
Create a Clear Intake-to-Exhaust Path
Orient the host so cool air enters without crossing its own exhaust. Leave room for the manufacturer’s airflow direction, avoid stacking warm power bricks against intake vents, and prevent loose cable bundles from forming a wall behind fans. Passive systems still need convection and should not sit inside a sealed box.
An airflow-efficiency article connects equipment orientation, cable management, and clear exhaust paths with lower recirculation risk. Its data-center scale is larger than a home server, so use the airflow principle rather than copying aisle designs. The household test is sustained component temperature inside the actual cabinet with the door in its normal position.
Run a representative CPU, database, and backup load while logging inlet, storage, and processor temperatures. If the enclosure heats continuously, add a defined intake and exhaust path or move the host; a faster fan inside the same sealed volume only circulates hotter air. Stop once stable temperatures retain margin in the warmest expected season.
Route Cables Without Blocking Service or Signals
Give power, Ethernet, storage, and radio connections distinct, labeled routes. Add service loops so the host can slide out without pulling the switch or coordinator. Use strain relief, avoid sharp bends, and keep cable bundles away from vents. Label both ends by role instead of relying on port order that changes during maintenance.
A current cable-management cooling guide describes how unmanaged bundles obstruct airflow and recommends structured routing for serviceability. In a small rack or shelf, the practical consequence is direct: one tidy trunk should not be so tight that replacing a cable disturbs every device or blocks the exhaust when the host is returned.
Place Zigbee, Z-Wave, Bluetooth, or Thread radios for coverage and interference control, often using a short extension away from the chassis and dense USB or Wi-Fi sources. Test representative devices at the edges of the home. A perfectly cooled central cabinet still fails if its construction or placement creates an unreliable radio path.

Protect Power and Preserve Maintenance Access
Locate the UPS where its indicators, battery compartment, outlets, and shutdown connection remain accessible. Do not bury it behind the host or place it where heat accumulates. Separate critical network and Home Assistant plugs from optional loads so a maintenance mistake or overload is less likely to remove the full local control path.
Plan front and rear access for storage replacement, memory service, console connection, dust cleaning, and cable tracing. Photograph the final layout and maintain a port map. The ZimaSpace guide to quiet Home Assistant hardware connects enclosure, cooling, storage, and placement choices, making it a useful next step when the preferred location has strict acoustic limits.
Perform a maintenance drill: shut down safely, remove and reinstall the host, identify every critical cable, inspect the UPS, and reach the boot or recovery interface. If two people cannot complete the sequence without moving unrelated equipment, redesign the shelf, rails, or cable routes before calling the location permanent.
| Placement gate | Pass evidence | Redesign trigger |
|---|---|---|
| Cooling | Stable hot-day inlet and component temperatures | Heat rises through the load test |
| Cabling | Labeled paths and usable service loops | One removal disturbs other devices |
| Radio | Edge devices remain responsive | Cabinet or USB noise weakens reach |
| Maintenance | Host and UPS are directly accessible | Routine service requires dismantling |
Run a Full-Day Placement Trial
Install the candidate layout temporarily for a full representative day before fastening cables or drilling. Include the warmest normal room period, a backup, database maintenance, busy automations, and other nearby equipment at load. Record noise, inlet and component temperatures, link rate, packet loss, and radio responsiveness.
A rack-cooling guide emphasizes ongoing temperature monitoring, regular maintenance, and preserving expansion space. Those principles apply at home when scaled to the actual shelf: leave enough access and thermal margin for a replacement drive or small switch, but do not reserve an empty sealed cabinet for hypothetical high-power equipment.
Accept the location when the trial and maintenance drill pass. Add ventilation when airflow is the only failed constraint and the change can be measured. Separate radios or network gear when placement conflicts with coverage. Relocate when moisture, safety, heat, or access is a hard failure; no cable neatness compensates for an unsafe service environment.
Final Setup Rule
Choose the location that passes measured thermal, network, radio, power, and maintenance gates under real household conditions. Improve airflow or separate a radio when one bounded constraint fails, but relocate when safety or service access is unacceptable. Re-run the trial whenever added storage or networking changes heat and cable density.

Recommended products

NAS & Server Setup
More to Read
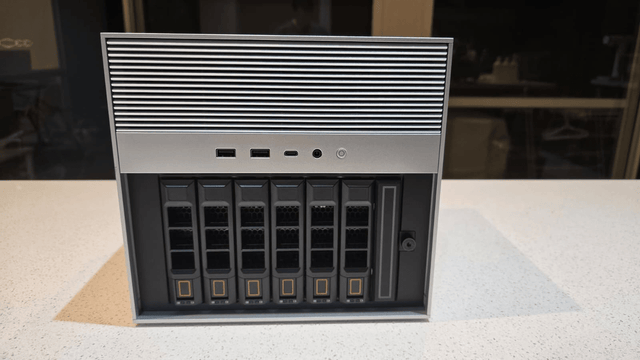
How New Home Assistant Features Change Home-Server Architecture
New Home Assistant features change service, network, data, and recovery roles. Protect core control, then integrate or isolate each feature by measured need.
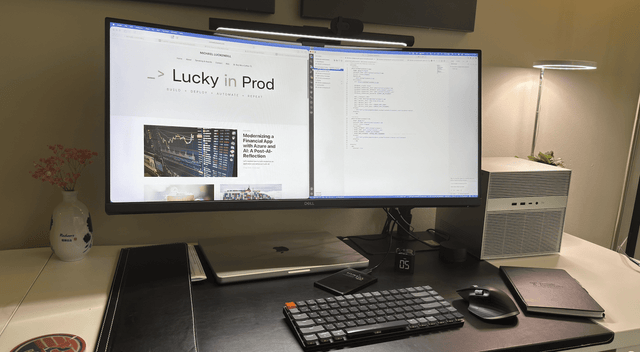
How to Size a Home Server for Home Assistant and Internet Outages
An outage-ready Home Assistant setup sizes compute, network, UPS, storage, and recovery together, then expands only where an acceptance test fails.
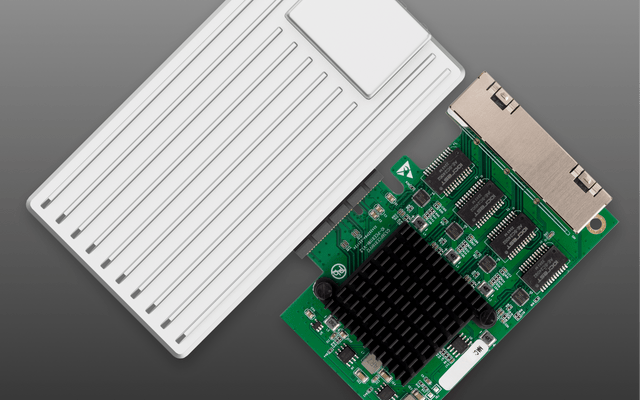
How to Build a Quiet, Low-Power Home Assistant Server
A quiet low-power server starts with measured workload and room limits, then uses SSD storage, efficient compute, safe cooling, and simple recovery.


