
How to Separate Home Assistant App Data, Cache, and Backups


Separate Home Assistant app data, cache, and backups by first deciding what must survive a failure, what can be rebuilt automatically, and what must live outside the Home Assistant host. Persistent configuration and database state deserve stable storage and backup; disposable cache or temporary files should not share the same retention rules; backups should not depend on the disk they are supposed to recover.
The safest layout is role-based rather than folder-name-based. Do not move a directory to “cache storage” merely because it grows quickly. Confirm whether Home Assistant or a companion service needs that data for history, identity, pairing, credentials, or recovery before treating it as disposable.
Classify Data as Authoritative, Rebuildable, or Recovery Copy
Authoritative app data includes Home Assistant configuration, secrets, integration state, automation definitions, and the database or other state you intend to preserve. Rebuildable data includes downloaded images, temporary files, package caches, transcodes, and indexes that a service can recreate without losing household configuration. Recovery copies are backups and exports intended to rebuild authoritative state after a failure.
This classification should be done per service. Home Assistant, MQTT, a database, reverse proxy, and Zigbee2MQTT may each have different persistent state. A management interface can remember the stack definition without containing the workload data itself; a why container-management backups may omit workload state illustrates why “I backed up Docker” can mean much less than expected.
Keep Home Assistant Configuration and Active Database on Stable Storage
For a container deployment, the Home Assistant configuration path must persist independently of the container image. If the recorder database remains in that configuration tree, it is active application state, not cache. Put this state on a reliable SSD or other low-latency storage with enough free space for normal database work and recovery operations.
Recorder activity can create continuous small writes, especially when many entities change frequently. A long-running Home Assistant community how recorder retention affects database growth is useful because it focuses on reducing unnecessary history rather than hiding database churn by moving the entire configuration tree onto temporary storage.
Move Only Proven Disposable Cache and Temporary Work
Cache and temporary storage can live on a separate fast scratch device, a bounded memory-backed filesystem, or a dedicated directory with cleanup rules—but only when losing it is harmless. Restart the relevant service after clearing a test copy and confirm that it reconstructs what it needs. If the service loses pairings, history, users, credentials, or configuration, the data was not disposable.
Separating churn can reduce writes and make backups smaller, but it should never obscure required files under a mount or create a hidden RAM dependency. The ZimaSpace separating Home Assistant cache and temporary storage provides a focused path for identifying rebuildable data before changing mounts.

Put Backups on a Different Failure Domain
A backup stored next to the live configuration protects against a bad edit but not against SSD failure, host theft, filesystem corruption, or a failed storage controller. Copy Home Assistant backups to a NAS, another server, removable storage, or an off-site target according to the failure you want to survive. Keep the recovery key or credentials somewhere that remains accessible when Home Assistant itself is down.
Backups also have to be internally consistent. Volume archives are useful, but stateful services may need a coordinated dump, snapshot, or stopped-service copy. An independent a persistent-volume backup and restore pattern explains the portability problem, while a a restore test that proves the backup is usable emphasizes that a backup job is not proven until you can recover useful state from it.
Test the Layout With Delete, Reboot, and Restore Drills
After separating paths, test each role according to its promise. Clear a disposable cache and confirm it rebuilds. Recreate the Home Assistant container and confirm persistent configuration remains. Reboot the host and verify mounts appear before dependent services start. Restore a recent backup into a temporary target and verify users, automations, integrations, and representative history or companion-service state.
Then document ownership and permissions. A path that is perfectly separated on disk can still fail after migration if the new container UID/GID cannot read it. Record mount points, filesystem ownership, backup inclusion, retention, and the service that is allowed to delete each directory.
| Data role | Typical storage | Recovery rule |
|---|---|---|
| Home Assistant config/database | Stable SSD/app-data pool | Persistent and backed up |
| Disposable cache/temp | Scratch SSD or bounded temp storage | Must rebuild safely |
| Backups | Separate host/media/off-site target | Restore tested |
| Bulk archives | Capacity-oriented storage | Protected according to value |
The separation is successful when deleting cache cannot destroy Home Assistant, recreating containers cannot erase app state, and losing the primary app-data device does not destroy the only recovery copy. Storage roles should make failure behavior obvious before anything fails.

Recommended products

NAS & Server Setup
More to Read
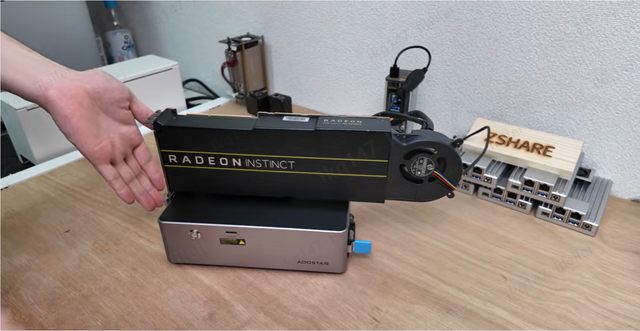
How to Adapt a Home Assistant Setup for Remote and Local Users
Keep local Home Assistant control independent of the remote edge, then add secure remote access with predictable DNS, identity, and network-switching behavior.
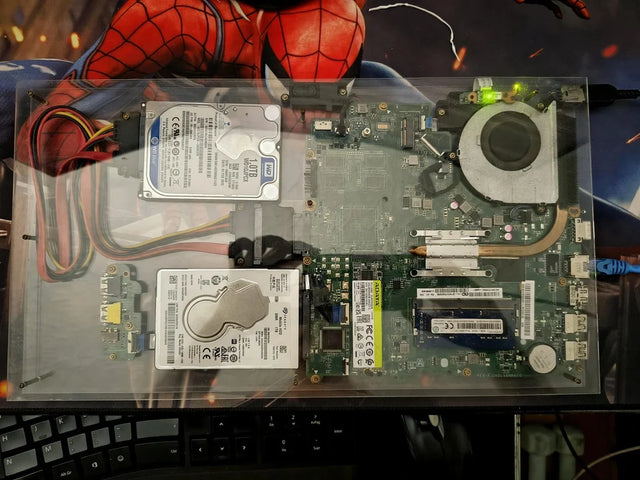
How to Move Home Assistant From a Single Container to a Resilient Service Stack
Preserve working state first, then separate data, dependencies, health, resources, and recovery so one service failure does not take down Home Assistant.
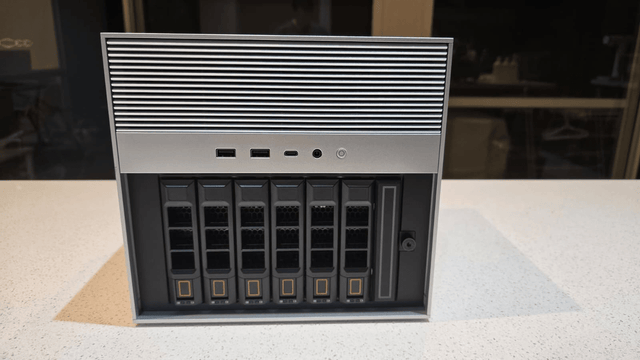
How New Home Assistant Features Change Home-Server Architecture
New Home Assistant features change service, network, data, and recovery roles. Protect core control, then integrate or isolate each feature by measured need.


