
How to Build a Dorm-Room Home Server Without Taking Over the Only Desk


A dorm-room server should occupy less space than a textbook stack, remain quiet during sleep, avoid loose drive and power-brick sprawl, and respect campus network and electrical rules.
The best starting point is one compact compute node, one contained storage path, wired networking where permitted, and a service list small enough to shut down, pack, and restore during a move.
Set physical, acoustic, and electrical limits first
Measure the shelf, desk edge, or ventilated mounting area before selecting hardware. Preserve airflow and access to power without placing equipment where drinks, bedding, books, or direct sun can block vents.
Choose a low-idle-power mini PC or compact x86 board sized for the actual services. SSDs reduce vibration and desk noise; if bulk HDD capacity is necessary, use one stable enclosure on vibration-damping feet rather than several loose adapters.
Count every power brick, cable, hub, and external disk in the footprint. A compact computer with an unstable cable nest is not a compact system.
Design around the campus network boundary
Check residence-network policy before connecting a router, switch, access point, or publicly reachable service. Many campuses require device registration, isolate wireless clients, filter inbound ports, or prohibit personal wireless infrastructure.
Use a private overlay VPN for remote administration when allowed, keep the management interface off public exposure, disable automatic router discovery, and apply host firewall rules. Do not bypass institutional controls.
Use the compact layout below as a starting topology.
| Decision area | Assessment | Boundary |
|---|---|---|
| Compute | One low-power mini PC | No rack or desktop tower |
| Storage | Internal SSD plus one contained tier | No loose multi-adapter chain |
| Access and recovery | Policy-compliant VPN plus off-site copy | No public admin ports |
Contain storage, noise, and maintenance
Keep the boot SSD and app state inside the server when possible. Store only growing bulk data on one external device with independent power, stable mounts, temperature monitoring, and a backup outside the dorm room.
Schedule scrubs, backups, scans, and builds away from quiet hours. Test fan and drive noise from the bed, not only from the desk, and avoid enclosing the server in a drawer where heat raises fan speed.
A related ZimaSpace quiet server placement article separates fan, drive, vibration, and background-work noise.
An independent mini-PC server build explains the size, power, noise, and capability trade-offs of this form factor.

Prepare the server for moves and absences
Label cables, export configuration, encrypt sensitive data, and secure the device against casual removal. Keep recovery codes and encryption keys somewhere that does not travel inside the same server bag.
Configure safe shutdown after power loss and verify unattended boot, mounts, networking, and selected services. If the residence closes during breaks, plan whether the server travels, shuts down, or runs elsewhere.
The build is complete when the desk remains usable, sleeping conditions remain acceptable, the campus policy is respected, and a stolen or failed server does not erase coursework. Expand only after a measured workload exceeds the compact boundary.

Recommended products

NAS & Server Setup
More to Read
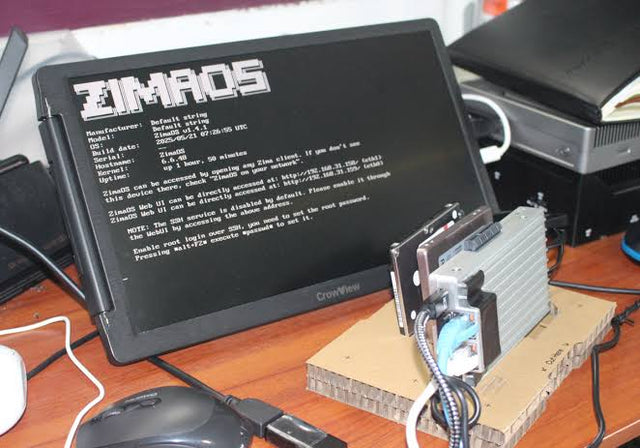
Why Are College Students Building Personal Servers Instead of Paying for More Cloud Storage?
Students gain storage control and practical systems skills from a personal server, but cloud remains valuable for off-site safety and simple collaboration.
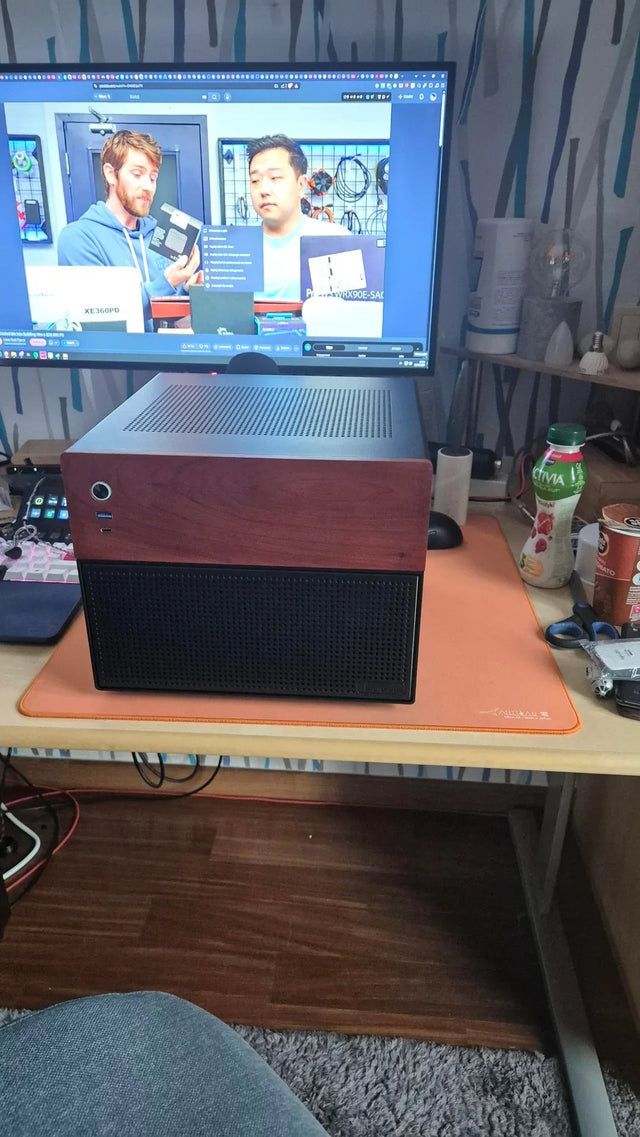
A Recoverable Developer Homelab Setup for Boot-Drive Replacement
Keep the boot disk disposable by moving definitions, persistent state, secrets, and recovery evidence into documented, independently backed-up layers.
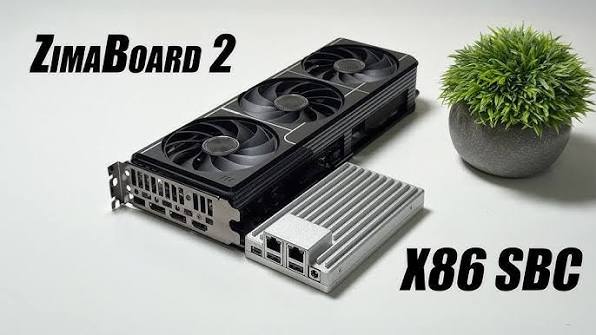
A Local RAG Setup for Research Papers, Notes, and Private Documents
Keep original documents authoritative, make indexing repeatable, require citations, and separate replaceable models from private source data.


