
Why Does Jellyfin Consume High CPU After an Update?


High Jellyfin CPU after an update usually comes from one of four places: startup/database work, scheduled library tasks, software or partial transcoding, or a plugin/background job that changed behavior with the new version. Do not assume the update permanently made Jellyfin heavier until you identify which process and task is consuming the CPU.
The fastest diagnosis is to compare timing and workload. If CPU is high only for minutes after startup, watch the startup and task logs. If it rises only during playback, inspect the active stream and FFmpeg path. If it remains high while nobody is watching, check scheduled tasks and plugins. Change one variable at a time, then reproduce the same condition so you can tell a temporary post-update job from a sustained regression.
Separate Startup Work From Steady-State CPU
Restart Jellyfin once during a quiet period and record how long CPU remains elevated. Watch the server log for migration, database optimization, plugin loading, or library-related messages, then wait until the web interface and scheduled work have settled before judging the new baseline.
Jellyfin's default scheduled and startup tasks include library scans, key-frame extraction, database optimization, cache cleanup, and plugin updates. Some tasks also run at startup, so a post-update burst can be maintenance rather than a continuous performance change.
If CPU returns to the old idle range after the tasks finish, do not tune transcoding or replace hardware. Your branch has already converged on temporary background work; instead schedule heavy tasks away from viewing hours if they interfere with playback.
Check Whether Playback Is Now Using the CPU
If the CPU spike begins only when a particular client starts playback, open the Jellyfin dashboard and determine whether the session is Direct Play, remuxing, audio transcoding, or video transcoding. A client or codec change can expose a software path that was not used before.
Force the same media on the same client with subtitles off, then compare CPU. If usage falls sharply, the subtitle or transcode path is the discriminator. If it remains high during Direct Play, look at storage, plugins, or another process rather than blaming the encoder.
For a deeper playback check, use the same method described in checking hardware transcoding: verify the active GPU/FFmpeg path instead of trusting that hardware acceleration is merely enabled in settings.
Measure the Container Process Instead of Guessing From Host Load
On a shared home server, verify that Jellyfin is the process actually consuming the CPU. Backups, media indexers, download clients, thumbnail generators, and filesystem maintenance may have been triggered around the same reboot or update window.
Container runtimes provide per-container usage views; Docker's stats command is designed to show live resource usage for running containers. Use per-container resource usage or your platform's equivalent while reproducing the issue.
If another container owns the CPU, pause that job and replay the original test. If Jellyfin owns it, continue into Jellyfin tasks and playback; if not, the update was only correlated with the host load, not the cause.

Disable or Reschedule One Background Source at a Time
Check the Jellyfin scheduled-task page for a task that is currently running or repeatedly restarting. Also review plugins that add their own scheduled work, metadata providers, intro detection, subtitle processing, or other library automation.
Do not disable every plugin and task permanently in one step. Pause one high-cost candidate, let the CPU settle, then reproduce the same idle or scan condition. A clean drop identifies the branch; no change means restore it and test the next candidate.
If the task is legitimate but poorly timed, reschedule it rather than treating it as a defect. If it loops, fails, or immediately restarts after the update, preserve logs and plugin/version information before changing database files or rebuilding the server.
Confirm the Fix Under the Original Post-Update Load
After identifying the cause, apply the matching repair: let migrations finish, reschedule a task, restore hardware acceleration, update or disable a problematic plugin, or correct the client/transcode condition. Then restart once and repeat the exact test that previously drove CPU high.
A successful repair means the CPU behavior matches the workload again: idle settles after startup, a Direct Play stays light, and any required transcode uses the expected acceleration path. A one-minute quiet period without repeating the trigger is not enough.
Escalate when high CPU persists with no running tasks, no transcode, no competing container, and a clean plugin baseline. At that point capture the Jellyfin version, OS/architecture, task state, and a short log window so a version-specific regression can be investigated without generalizing from one busy startup.

Recommended products

Support & Tips
More to Read
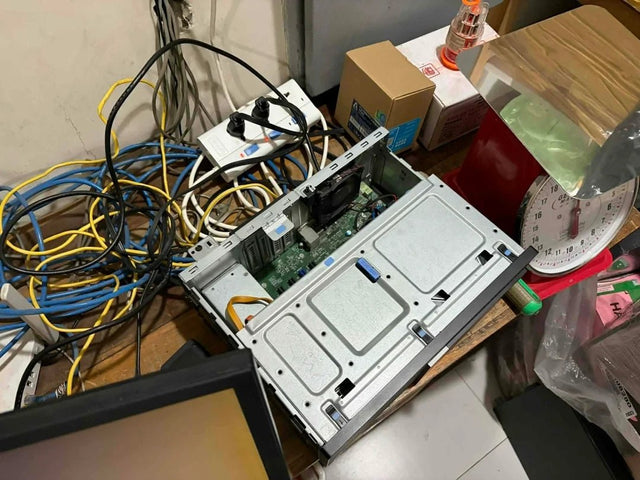
Jellyfin Works on Wi-Fi but Fails on Ethernet or VPN
When Jellyfin works on Wi-Fi only, isolate the changed network path: destination, route, firewall/local classification, then VPN overlap.
How to Decommission Jellyfin Without Leaving Unprotected Data
Retire Jellyfin safely by preserving a final restore point, closing access paths, and accounting for every volume, mount, backup, and credential.
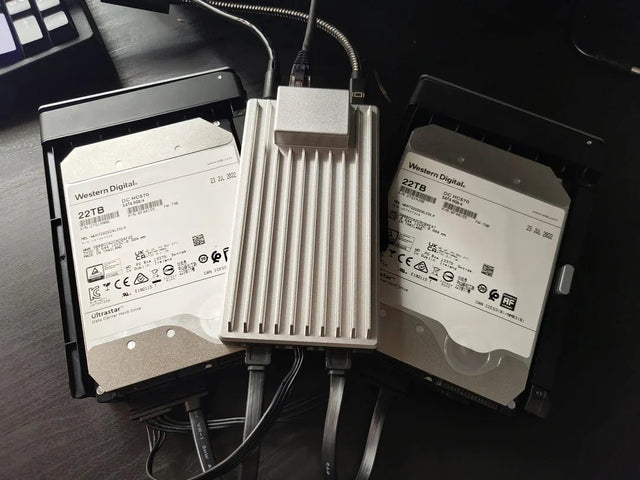
Should You Use Automatic Updates for Jellyfin on a Home Server?
Automatic Jellyfin updates are safest when backups, version scope, rollback, and post-update validation are defined before unattended cutover.


