


A LEGO Rack for a First ZimaBoard 2 Home Server


Thank you to u/JJ_no_way for sharing a first home-server project that starts with a place for the hardware. A ZimaBoard 2 sits on a handmade LEGO rack with room for two SSDs underneath. The intended jobs are Home Assistant and home-office file storage; the photographs document the physical build before those plans become a finished service stack.
The original LEGO home-server post gives this small project a clear direction. It is a useful example of arranging the board, drives and cables around the work a first server is meant to do.
A Small Rack Gives the First Server a Shape
The most distinctive part of the build is visible without opening a dashboard. Blue and white bricks form a short, open frame. The metal server enclosure rests above the drive area, keeping the computer and its storage together on the desk. The result looks approachable: a small structure whose arrangement can be understood from several angles.

For someone putting together a first machine, that physical organization is useful in its own right. Loose drives and trailing connectors make it harder to move a setup or work out which cable goes where. A frame gives the components a repeatable position while software choices are still being made.
This is a custom arrangement, so the photographs are best treated as design inspiration. They do not provide a numbered brick inventory, measured clearances or assembly instructions. Another builder would need to fit their own components and check that each connection remains accessible.
What Is Built and What Comes Next
| Part of the project | Documented position |
|---|---|
| ZimaBoard 2 | The computer at the top of the rack |
| Two SSD spaces | Storage accommodated by the LEGO structure |
| Home Assistant and NAS | Intended applications |
| Extra drives and a PCIe card | Possible later expansion |
The ZimaBoard 2 single-board server provides the hardware platform. Its official setup guide documents the storage connections, network interfaces and expansion slot for readers checking their own layout.
A useful way to read this project is to separate three milestones: a structure that holds the parts, a system that boots and recognizes storage, and applications that perform the household jobs. Each milestone answers a different question. Having a place for two disks does not decide how their files will be organized, shared or recovered.
Keep the Ports Reachable as the Layout Changes

The rear view makes the relationship between the computer and the frame particularly clear. The connector panel faces outward, with open space around the drive levels below it. That is a useful detail to consider before committing to a more enclosed case: installing the operating system or troubleshooting a network connection should not require dismantling the whole structure.
For a similar build, a practical inspection would follow the cables through the actual movements needed during maintenance. Can a drive be removed without pulling on the board? Can the network cable be disconnected with the rack in its normal position? Is there room for a replacement cable with a different connector shape? These are checks a reader can make, rather than results reported for this particular rack.
Our ZimaBoard 2 dual-NVMe enclosure story offers another approach to arranging compact hardware. The shared design question is how to keep a small machine understandable when storage and cabling are added.
Home Automation and File Storage Need Separate Decisions
The planned applications serve different routines. Home automation needs a dependable place for its configuration and integrations. A home-office file service needs a clear directory structure, user access and a way to retrieve files from the devices that use them. Sharing one computer makes those requirements part of the same maintenance schedule.
The Home Assistant installation guide distinguishes a dedicated operating-system installation from container and virtual-machine options. That choice matters when one machine is also expected to handle other services: it determines which system the owner administers and how additional applications are managed.
The source does not establish which installation method this builder selected. A sensible next step for a reader with the same goals would be to choose the service arrangement before filling the server with important files. That leaves room to learn how updates, restarts and recovery work while the data set is still small.
The small homelab shared by u/jc-21 provides a useful companion example of giving compact machines defined responsibilities.
Two Drives Leave the Storage Policy Open
Two physical drive positions can support several different arrangements. A reader might separate working files from application data, choose redundancy, or reserve one device for a separate task. The appropriate choice depends on what needs to survive a failure and where another copy will live. The rack itself does not settle that policy.
If containers become part of a similar deployment, the Docker volumes documentation explains why persistent application data needs attention beyond the container image. A recreated application still needs its settings and stored content.
That gives a beginner a concrete planning task: record the location of important files and configuration before adding more applications. It is easier to decide what a backup must contain when each service has a clearly named storage location.
Expansion Can Wait for a Defined Job

A future expansion card would change the space needed around this frame. The useful preparation is to keep its route open and revisit the layout when a specific card has a specific job. Similarly, an additional drive should come with a reason to add capacity or change how data is organized.
The owner still used iCloud for photos and videos at the time of posting. A future move to local storage would be a separate project, involving export, verification and continued access from everyday devices. The present build gives that possibility a physical starting point.
FAQ
Is there a complete LEGO parts list?
The linked post supplies photographs rather than step-by-step building instructions. Use the views to understand the arrangement and measure your own components.
Is the software setup documented?
The story describes the intended applications. It does not include installation steps or a completed software inventory.
Does having two SSDs establish a backup?
No. The number of drives alone cannot show what is protected or how recovery would work.
Can the photographs establish cooling performance?
They show the physical arrangement. Temperature and sustained-load behavior would need separate measurements.
Conclusion
This project captures a useful early stage of self-hosting: bringing the hardware into an arrangement that can be examined, changed and maintained. Its next milestone is to connect that physical build to a small set of dependable household services, then expand when those services create a clear need.
Welcome to the ZimaSpace community! Share your setup, ask questions, and explore practical build guides, real user stories, and product updates with fellow self-hosters.

Recommended products

Zima Campaign Hub
More to Read
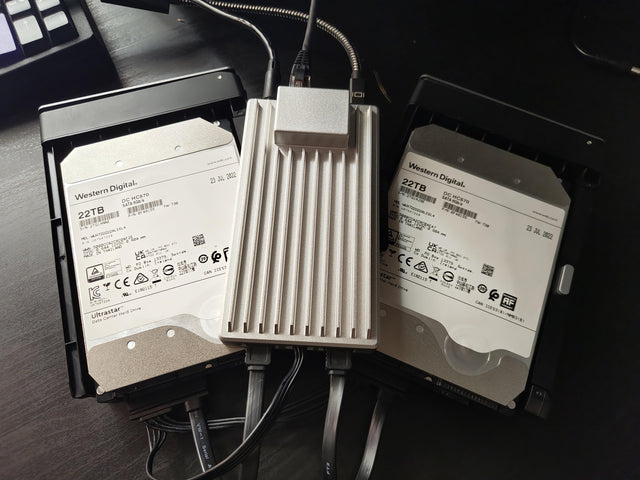
A ZimaBoard 2 Prototype with Two 22 TB Drives on the Test Bench
Explore sabitech2k’s early ZimaBoard 2 drive test, the reported power conditions, and the existing ZimaBoard used for Proxmox backups.
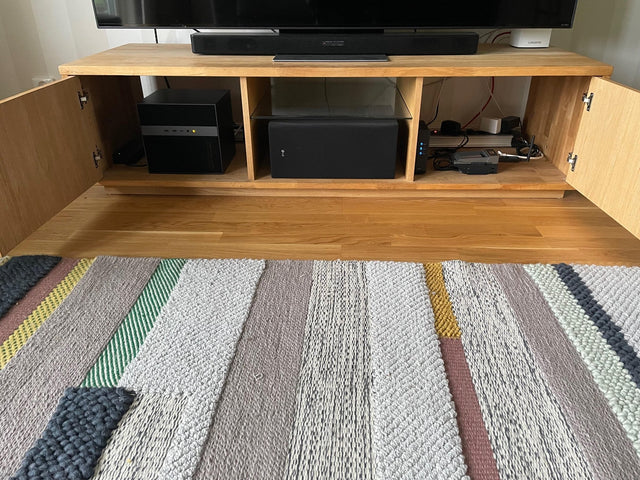
A Quiet ZimaCube and ZimaBoard Homelab with Debian and Docker
A ZimaCube and ZimaBoard split everyday applications from smart-home services, with Debian, Docker, Pi-hole and a Homepage dashboard.
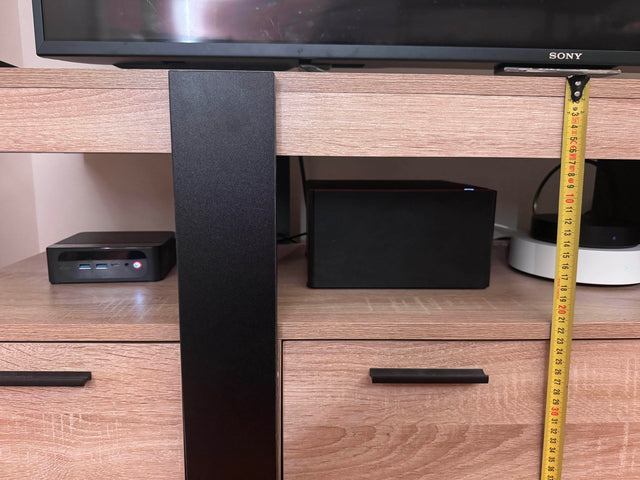
A ZimaOS NAS and Proxmox Homelab Under a TV, Below 14 cm Tall
PierroDuv separates a custom ZimaOS SSD NAS from a Proxmox mini PC under a TV shelf, with reused parts, low clearance and clearly divided...


