
Can You Replace a Noisy Mini PC Fan Without Changing Thermal Control?


Yes, but a physically fitting fan is not enough. To preserve the original thermal-control behavior, match voltage, connector and pin order, PWM or voltage-control method, tachometer feedback, dimensions, and cooling performance.
Mini PC vendors often use small proprietary harnesses even when the fan itself follows familiar three-wire or four-wire signaling. Never assume wire colors or connector position match a desktop motherboard header. That distinction determines the safe configuration, validation method, and rollback point.
Identify the original control interface
Record the fan label, rated voltage and current, connector size, wire count, and pin order before disconnecting it. Photograph both sides of the plug and mark orientation.
A four-wire fan typically separates power, tachometer feedback, and PWM control. A two- or three-wire fan may use voltage control and may not accept a PWM command.
Measure fan dimensions, screw locations, duct shape, and airflow direction. A quieter open-frame fan can perform worse if it cannot push air through the mini PC's dense heatsink and narrow exhaust.
Compare signals before choosing a replacement
Use a multimeter and model-specific pinout only if you understand the risk; a reversed power lead can damage the fan or board. Prefer an exact manufacturer replacement when documentation is unavailable.
Check whether firmware reports RPM and changes speed with temperature. Losing the tach signal may trigger a fan error, while losing control may leave the fan at full speed or too slow.
Use the table below to reject near-matches that would change thermal control.
| Observed state | Verdict | Next action |
|---|---|---|
| Voltage, pinout, PWM/tach, airflow match | Compatible candidate | Stress-test before service |
| Connector fits; pinout unknown | Unsafe | Do not power it |
| Quieter but lower pressure; temperatures rise | Thermally inadequate | Revert or redesign ducting |
Replace reversibly and preserve the thermal path
Power down, unplug the adapter, discharge static, and keep the original fan and harness intact. Use a proper crimped adapter or repinned connector rather than twisting wires.
Do not disturb the heatsink unless required. If it must be removed, replace thermal interface material correctly and tighten in sequence; a fan swap cannot compensate for poor heatsink contact.
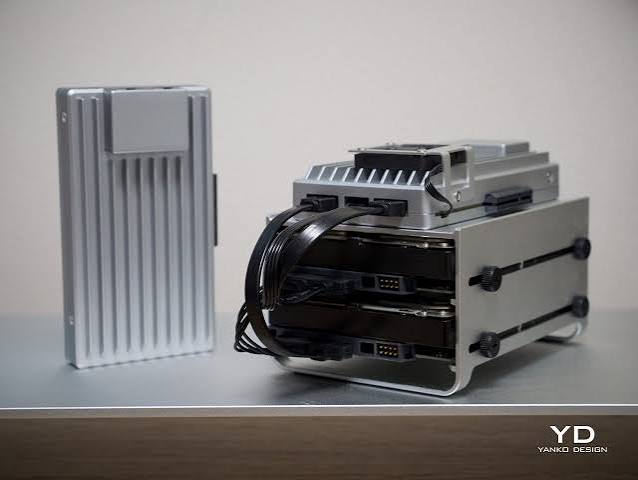
The ZimaSpace ZimaCube teardown illustrates serviceable cooling and expansion design.
A detailed independent mini PC cooling replacement example documents connector and PWM pinout checks.

Validate the original fan curve under load
Record idle temperature, load temperature, RPM, noise, and throttling before the change. After replacement, repeat the same workload at the same room temperature and enclosure position.
Confirm speed rises with temperature and falls after cooldown, with no fan warnings or oscillation. Run sustained CPU, storage, and GPU load because mini PC heat sources share a small internal air path.
Proceed when control response, peak temperatures, and throttling are no worse than baseline. Stop and reinstall the original fan if RPM is missing, temperatures climb, the fan stalls, or the system changes its control behavior.

Recommended products

Support & Tips
More to Read
Can a Home Server Resume Services in Dependency Order After UPS Recovery?
Yes—use explicit boot dependencies and readiness checks; restart policies alone do not guarantee services become usable in the right order.

Can You Use Wake-on-LAN After a Complete Power Loss?
Sometimes—WOL needs standby power and firmware/NIC state to recover after AC returns; it cannot wake a machine while power is absent.
Can a Mini PC Run Without a Display After a BIOS Reset?
Usually yes, but a BIOS reset can restore display, boot, halt, and power settings that prevent reliable headless startup.


