
How to Configure Time Machine Quotas for Multiple Macs on One NAS


For multiple Macs on one NAS, give each Mac its own Time Machine share or storage boundary if you need a predictable quota. A single shared Time Machine folder is convenient, but one Samba share-level size limit does not create independent hard quotas for every Mac using that share.
Apple currently supports Time Machine backups to third-party NAS devices over SMB. Apple also says AFP-based network Time Machine targets are not recommended and will not be supported in macOS 27 or later, so new NAS configurations should be built around SMB.
Plan a Quota for Each Mac Before Creating Shares
Apple's current Time Machine capacity guidance recommends a backup disk with at least twice the storage capacity of the Mac when possible.
| Mac | Internal Storage | Starting Quota | NAS Share |
|---|---|---|---|
| MacBook Air | 512 GB | 1 TB | tm-macbook-air |
| MacBook Pro | 1 TB | 2 TB | tm-macbook-pro |
| iMac | 2 TB | 4 TB | tm-imac |
The two-times rule is a planning target. A larger quota keeps more history; a smaller quota can work but will force older history to roll off sooner.
Use SMB Time Machine Shares on the NAS
Apple's supported backup destinations confirm that a third-party NAS can serve as a Time Machine target over SMB.
On ZimaOS, the current Time Machine setup uses a Samba share with the Configure for Time Machine option. For several Macs, separate backup folders make ownership, troubleshooting, and capacity boundaries easier.
/NAS/TimeMachine/
├── MacBook-Air/
├── MacBook-Pro/
└── iMac/
Understand Samba's Time Machine Max-Size Setting
If you manage Samba directly, the current Samba vfs_fruit documentation provides:
fruit:time machine = yes
fruit:time machine max size = 2T
This changes the disk size Samba reports to Time Machine. Samba describes the calculation as approximate and warns that unrelated content should not be mixed into a volume using this setting because only Time Machine sparsebundle contents are counted by the calculation.

Do Not Treat One Share-Level Limit as a Per-Mac Quota
If three Macs use one Time Machine share with a 4 TB reported maximum size, that does not guarantee separate allocations such as 1 TB, 1 TB, and 2 TB.
For predictable per-Mac limits, use one of these designs:
-
Separate SMB share per Mac with a different
fruit:time machine max size. - Separate filesystem dataset or subvolume per Mac with a real storage quota.
- Separate NAS user plus storage quota if the platform enforces quotas at the storage layer.
Example: Give Each Mac Its Own Samba Time Machine Share
On a Linux NAS where you intentionally manage smb.conf:
[tm-macbook-air]
    path = /srv/timemachine/macbook-air
    vfs objects = fruit streams_xattr
    fruit:time machine = yes
    fruit:time machine max size = 1T
    valid users = tm-macbook-air

[tm-macbook-pro]
    path = /srv/timemachine/macbook-pro
    vfs objects = fruit streams_xattr
    fruit:time machine = yes
    fruit:time machine max size = 2T
    valid users = tm-macbook-pro

[tm-imac]
    path = /srv/timemachine/imac
    vfs objects = fruit streams_xattr
    fruit:time machine = yes
    fruit:time machine max size = 4T
    valid users = tm-imac
On appliance-style NAS software, prefer supported share and quota controls when available. Hand-edited generated Samba configuration may be replaced by an update.
Use Filesystem Quotas When You Need a Hard Boundary
fruit:time machine max size influences what Time Machine thinks is available. It is not a universal hard filesystem quota.
NAS pool
├── tm-macbook-air   hard limit: 1 TB
├── tm-macbook-pro   hard limit: 2 TB
├── tm-imac          hard limit: 4 TB
└── normal-data      separate storage
How you implement the hard limit depends on the storage stack: ZFS datasets, Btrfs qgroups, LVM-backed volumes, or NAS-specific quota controls have different commands. Configure the storage boundary first, then expose it as a Time Machine SMB share.
Do Not Mix Normal NAS Files Into the Time Machine Quota Share
Samba's max-size calculation only accounts for Time Machine sparsebundle contents. Keep photos, media, shared documents, and application data in other shares.
/shares/tm-macbook-air   Time Machine only
/shares/tm-macbook-pro   Time Machine only
/shares/tm-imac          Time Machine only
/shares/family           normal files
/shares/media            normal files
Connect Each Mac to Its Assigned Share
- Open System Settings.
- Go to General > Time Machine.
- Select Add Backup Disk.
- Choose that Mac's dedicated NAS share.
- Authenticate with the account assigned to the share.
- Allow the first backup to finish before evaluating steady-state capacity.
If the NAS share does not appear, confirm that SMB is enabled and the Mac can reach the NAS. ZimaOS users can also follow the current SMB troubleshooting steps.
Watch Real Usage After the First Full Backup
The first Time Machine backup is much larger than later incremental runs. After several days, check each backup size, free space on the NAS pool, whether one Mac is deleting history much earlier than the others, and whether all Macs still complete new backups.
If one Mac has a 1 TB quota but routinely keeps 900 GB of live data, the quota is too tight for useful version history even if the initial backup fits.
Leave NAS-Wide Free Space Outside the Mac Quotas
Do not allocate 100% of the NAS pool across Time Machine quotas. The filesystem, snapshots, metadata, other services, and maintenance need free space too.
MacBook Air   1 TB
MacBook Pro   2 TB
iMac          3 TB
------------------
Time Machine  6 TB

Remaining on an 8 TB pool: 2 TB
Remember That Time Machine Is Only One Backup Copy
A NAS Time Machine destination protects a Mac from local disk failure and accidental changes, but the Mac and NAS can still share one physical location and power environment. The ZimaOS 3-2-1 backup strategy explains why another independent copy still matters.
Time Machine Quota FAQ
Can several Macs share one Time Machine SMB share?
Yes, but a single share is harder to divide predictably. Separate shares are better when you need independent limits or simpler troubleshooting.
Does fruit:time machine max size create a hard filesystem quota?
No. Samba describes it as an approximate Time Machine size calculation based on sparsebundle contents.
What happens when a Mac reaches its Time Machine limit?
Time Machine normally removes older history as space is needed. If the assigned capacity is too small to complete a required backup, macOS can report insufficient backup-disk space.
Should every Mac get the same quota?
No. Base the allocation on each Mac's storage size and protected dataset so different machines can retain a similar amount of history.

Recommended products

Support & Tips
More to Read
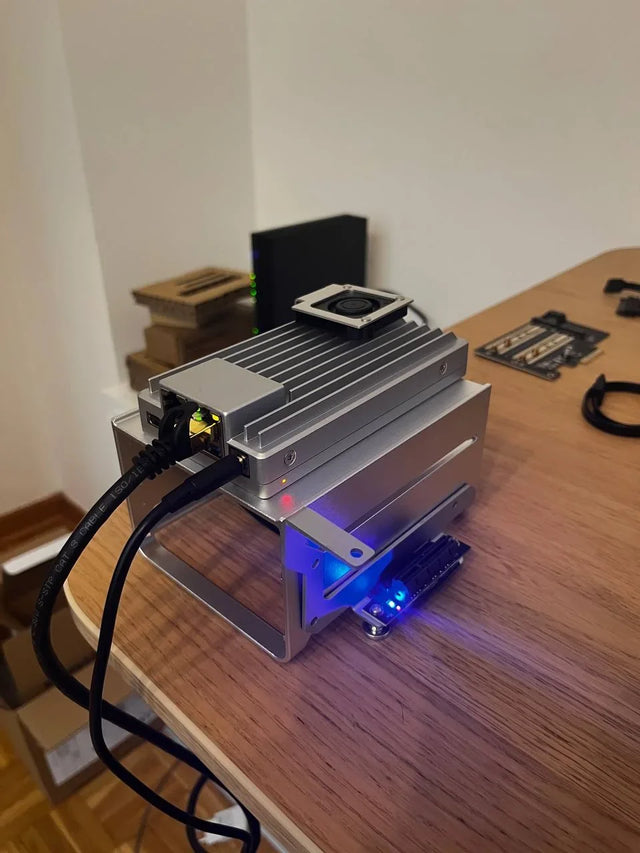
Home Assistant Works on Wi-Fi but Fails on Ethernet or VPN
Test each network path separately, verify interface and routing state, distinguish direct IP from discovery, then repair only the failed layer.
How to Decommission Home Assistant Without Leaving Unprotected Data
Prove the replacement or archive, revoke every trust path, sanitize each data-bearing device, and retain only documented protected recovery copies.
Should You Use Automatic Updates for Home Assistant on a Home Server?
Choose manual, notification-only, or staged automatic updates from household impact, compatibility risk, observation time, and recovery readiness.


