
What Chair and Desk Height Helps During Extended Home Lab Maintenance?


There is no single correct chair or desk height; the useful setting is the one that supports your feet and keeps the input surface near relaxed elbow height.
Set the chair first, then adapt the desk, keyboard, and screen around your body. Use books, a footrest, a keyboard tray, or a monitor stand for reversible tests before replacing furniture. A good setup permits posture changes and leaves hardware maintenance separate from hours of keyboard work.
Set the Chair From the Floor Up
Sit back in the chair with the feet supported and knees comfortable. Raise or lower the seat until the thighs are supported without pressure behind the knees. If the desk forces the chair higher, add a stable footrest rather than letting the feet hang.
Adjust back support so it follows the lower back without pushing you forward. Armrests should support occasional rest without lifting the shoulders or blocking the chair from approaching the desk. Remove or lower them if they create that conflict.
The chair is correctly set when you can sit close to the input surface, breathe normally, and change position. Do not chase a rigid photograph of perfect posture; extended maintenance needs movement as well as support.
Match the Input Surface to Relaxed Elbows
With the shoulders relaxed and elbows near the sides, bring the keyboard and pointer to roughly forearm height. If the desk is too high, a keyboard tray can be a smaller intervention than raising the chair and losing foot support. If it is low, test a thin riser under the whole work surface rather than bending forward.
a practical ergonomic desk setup treats the chair, input devices, and display as one system. That is why changing chair height alone can solve one angle while making screen height or foot support worse.
Use the actual task for validation. Typing commands, dragging dashboard panels, and opening a chassis place different demands on the body. The keyboard height should optimize the longest computer task; physical server service belongs on a separate clear surface when possible.
Position the Screen After the Hands
Once the input height is comfortable, place the main screen directly ahead and high enough that you are not repeatedly dropping the head toward a laptop. Increase interface scaling before pulling the screen too close or leaning forward to read dense terminal text.
For laptop maintenance, use a stand plus external keyboard and pointer during long sessions. For a short emergency login, accept the compromise but limit exposure. Duration determines whether a temporary arrangement becomes a recurring problem.
Check reflections and text size at the same time. A technically correct screen height will not help if glare makes you twist away or small text makes you crane forward. Treat visibility and posture as coupled variables.

Keep Server Hardware Out of the Typing Envelope
Do not place drive docks, switches, or test hardware where the forearms need to rest. Move occasional equipment to the side, and route cables so the chair can approach the desk. The central zone should contain only the tools used continuously.
ZimaSpace guide for a NAS in a home-based business emphasizes safe placement, ventilation, and protection from accidental disconnection. Those same boundaries prevent a compact desk from becoming both a permanent console and a crowded service bench.
When you must open a case, move it to a surface with good lighting and enough depth to support both forearms. Standing over a server on the floor or reaching behind a monitor may be tolerable for two minutes, but it is a poor maintenance station.
Validate the Setup Across a Real Maintenance Window
Test for forty-five to sixty minutes with ordinary work, then note foot pressure, shoulder elevation, wrist angle, leaning, and the need to reposition the chair. Change only one dimension before the next matched session.
Evidence for workstation interventions is mixed, and no furniture setting can guarantee pain prevention. a randomized ergonomic intervention trial provides a useful evidence boundary: use adjustments as controlled experiments and judge them by sustained comfort and function, not by marketing claims.
If discomfort persists despite reasonable changes, or if there is numbness, weakness, radiating pain, swelling, trauma, or night symptoms, stop treating the issue as a furniture puzzle. Seek professional assessment and bring your symptom log and workstation photos to make the discussion more concrete.

Recommended products

Support & Tips
More to Read
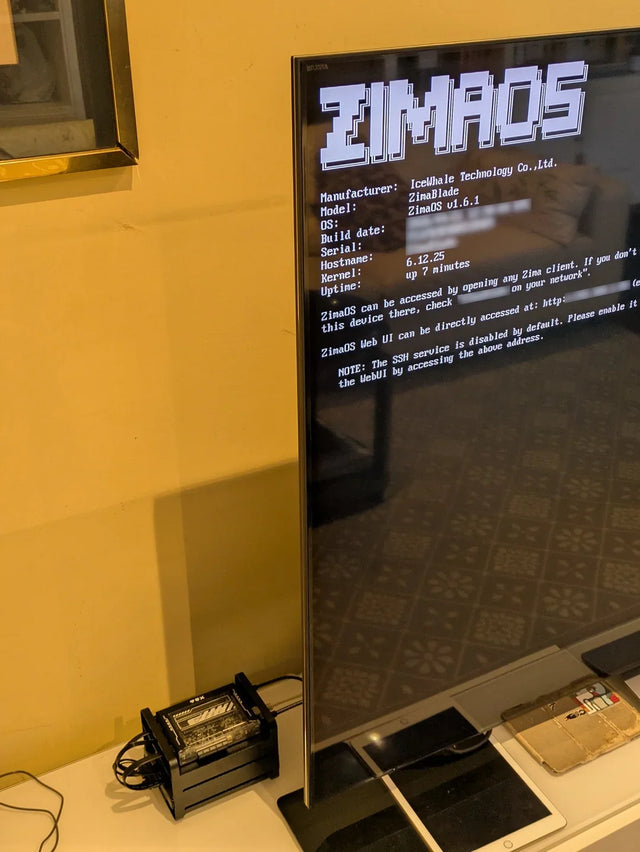
Why Does a Warm Mini PC Under the Desk Make a Small Office Uncomfortable?
Measure wall power and room temperature, clear the exhaust path, and compare placement before changing cooling hardware.
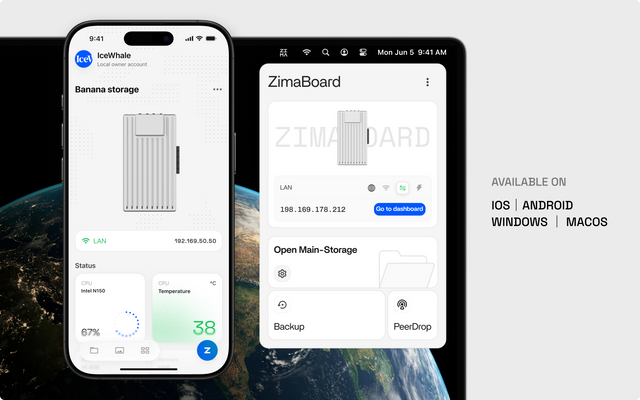
What Screen Distance Helps When Watching Several Server Dashboards?
Start at a comfortable arm's-length range, scale dashboard text, and verify posture instead of chasing one universal distance.
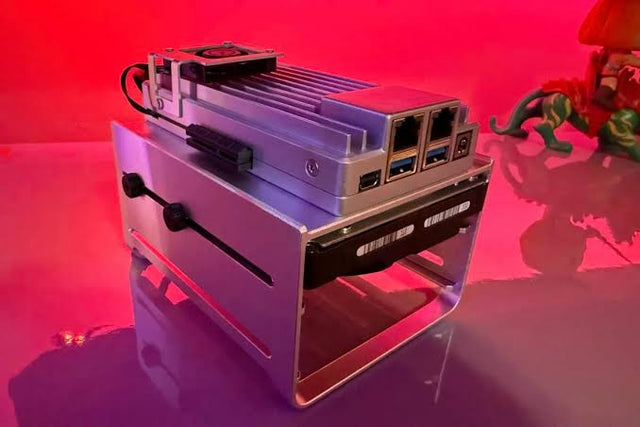
How to Reduce Glare When Reviewing Photos on a NAS-Connected Monitor
A controlled method for separating reflections from brightness and preserving consistent photo-review decisions.


