
How to Set Up Home Assistant for Whole-Home Device Control


Build Home Assistant around a stable local core, planned radio coverage, observable automations, and a restore path proven before household cutover.
Start with one installation route, wired networking where practical, reliable storage, and the minimum integrations needed for critical lighting, climate, safety, and presence. Add dashboards, remote access, voice, and cloud services only after local actions work during internet loss and every automation has a manual control, failure state, and rollback.
Choose an Installation Route and Freeze the Boundary
Choose an appliance-style Home Assistant OS deployment when you want an integrated lifecycle for Core and companion services. Choose a container or VM when the surrounding host is already managed and you accept responsibility for dependencies, devices, backups, and updates. Do not mix installation instructions between routes.
Write the boundary before installation: which host owns Home Assistant, where persistent state lives, which USB or network radios it controls, which services are external, and how the host is reached for recovery. Freeze those paths while the first device cohort is validated.
Keep the old controller or vendor apps available for a bounded pilot when possible. Whole-home cutover starts only after critical devices and manual fallbacks work on the selected route.
Prepare Stable Power, Storage, Network, and Radio Placement
Use reliable low-latency storage with monitored free space and stable power. Prefer wired Ethernet for the Home Assistant host when available, reserve its address, synchronize time, and document DNS and gateway dependencies. Place radios away from USB 3 noise, metal enclosures, and crowded access points.
A detailed Zigbee optimization guide explains channel planning, router density, and interference. Its Zigbee interference and router plan is especially useful before pairing battery devices permanently.
Pair mains-powered routers first, then add end devices in their intended rooms. Record radio channels, adapter identity, extension-cable placement, network keys, and the devices that provide critical routing.
Build Local Control Before Adding Remote Dependencies
Add one integration family at a time and classify its path as fully local, locally bridged, or cloud-dependent. Verify commands, state updates, reconnect behavior, and startup while the internet is disconnected before making that family part of a critical routine.
MQTT is a message transport, not a replacement for Zigbee or Z-Wave radios. A practical MQTT role distinction helps prevent designing a broker as if it were the device network itself.
The internal local automation control path maps triggers, decisions, actions, and acknowledgements so each integration can be tested at the correct boundary.

Add Automations in Observable Safety Layers
Begin with observable single-device actions, then room scenes, schedules, presence, and cross-system routines. Give every automation a unique purpose, explicit triggers and conditions, a timeout for external work, and a traceable failure state.
Preserve physical controls for lighting, climate, locks, and safety functions. Prevent loops by assigning one owner to each state change and by distinguishing commands from state acknowledgements. Run competing scenes and restart Home Assistant mid-routine to expose duplicate or stale actions.
Delay convenience layers such as voice, remote dashboards, and broad presence rules until the underlying local action stays correct through restart, radio loss, broker loss, and internet loss.
Back Up, Restore, and Prove Whole-Home Failure Behavior
Create a versioned backup after the base platform, after each radio network, and before every major update or topology change. Keep at least one copy outside the active host and record the software version, radio identity, secrets, mount map, and recovery steps.
- Restore onto an isolated clean target.
- Verify administrator access, entities, radios, automations, dashboards, and history.
- Test one critical routine with internet unavailable.
- Restart the host and repeat the routine.
- Time rollback before decommissioning any previous controller.
Whole-home setup is complete only when local control, manual fallback, alerts, backup, restore, and degraded operation are demonstrated to another household member. New integrations then enter through the same staged test instead of bypassing the safety boundary.

Recommended products

NAS & Server Setup
More to Read
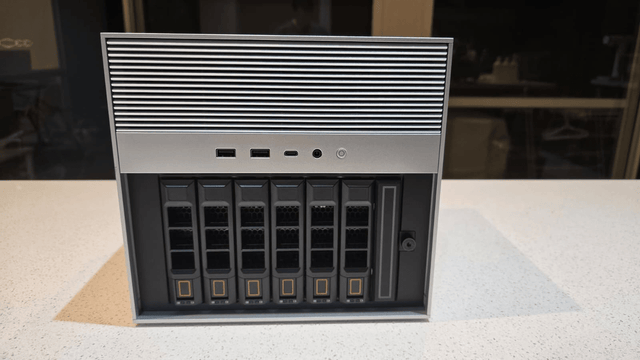
How New Home Assistant Features Change Home-Server Architecture
New Home Assistant features change service, network, data, and recovery roles. Protect core control, then integrate or isolate each feature by measured need.

Where to Place a Home Assistant Server for Cooling, Cabling, and Maintenance
The best Home Assistant location passes hot-day airflow, cable, radio, UPS, and maintenance drills. Ventilate, separate, or relocate when a hard gate fails.
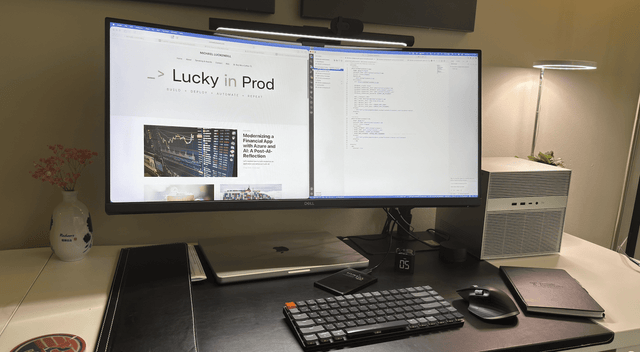
How to Size a Home Server for Home Assistant and Internet Outages
An outage-ready Home Assistant setup sizes compute, network, UPS, storage, and recovery together, then expands only where an acceptance test fails.


