
If ZimaOS sees your drives but the RAID creation screen assigns them to the wrong bays, leaves selectable slots blank, or exposes only some disks, first separate a current RAID-health problem from the old non-ZimaCube disk-mapping issue documented in this thread. Page 2 largely reflects ZimaOS 1.2.x and early 1.3.x behavior on DIY hardware.
Current ZimaOS RAID troubleshooting starts with drive count, disk health, individual formatting, an empty mount point, and a reboot. Only after those checks should you consider old slot-mapping workarounds—and only if you can reproduce the same mapping defect on your current version.
What the Old Disk-Mapping Bug Looked Like
Several users on non-ZimaCube hardware reported that physically attached drives appeared in unexpected virtual positions. The storage page could show disks in bays 4, 5, and 6 while the RAID dialog expected disks in earlier positions, leaving the Next button unavailable or hiding a drive from selection.


Recognition and RAID Eligibility Were Two Different Layers

This distinction remains useful today. Seeing a disk in lsblk proves the kernel sees a block device. Seeing it in Files or Storage Manager proves another layer recognizes it. Being selectable for RAID adds yet another eligibility and UI layer.
If one layer fails, capture where the disk disappears instead of immediately wiping it. Check filesystem state, existing RAID metadata, mount state, and whether the current interface considers the disk available for a new array.


Run the Current RAID Checks Before Editing System Configuration
The current official RAID troubleshooting guide recommends verifying at least two drives, checking disk health, confirming each disk can be formatted successfully, ensuring the intended RAID mount point is empty, and rebooting before retrying creation.
Current ZimaOS RAID troubleshooting checklist should be your first path even on DIY hardware because it avoids destructive assumptions.
SataStartNumber Was a Version-Specific Community Workaround
In the old thread, an IceWhale team reply acknowledged that early ZimaOS UI logic was strongly tied to ZimaCube slot layout. Users were told to inspect disk controller placement with lsblk -o hctl and, for certain DIY systems, adjust SataStartNumber in /etc/casaos/local-storage.conf.
Some users confirmed that this corrected the virtual bay mapping; others later reported that newer ZimaOS releases fixed their setup without keeping the same workaround. That makes the edit a historical compatibility technique, not a current universal requirement.
Do not apply an old SataStartNumber value from another motherboard. Controller topology differs by system, and current ZimaOS may no longer use the same assumptions.
The Screenshots Show Why Version Boundaries Matter

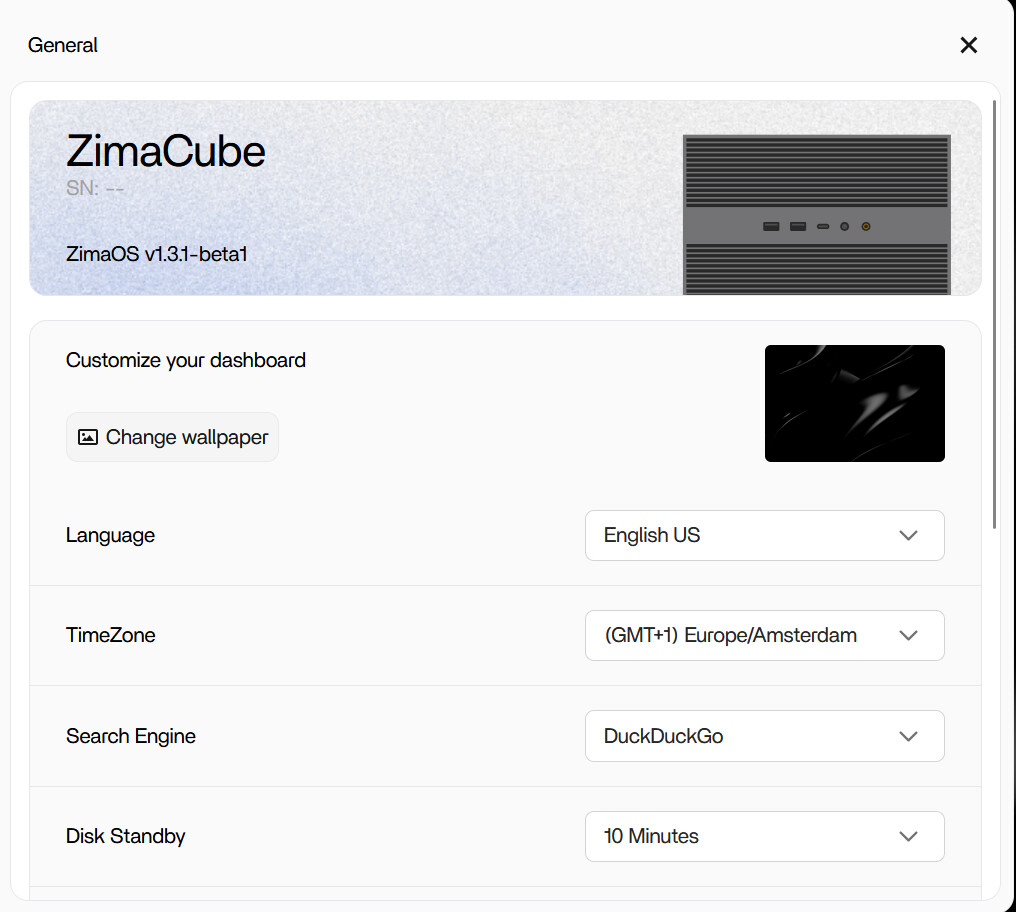
ZimaOS 1.7.1 also includes a fix for inaccurate RAID status display in certain scenarios. That does not prove every DIY bay-mapping case is solved, but it is another reason to reproduce the issue on a current build before following a 2024 configuration edit.
Do Not Turn the Five-Disk Shell Workaround into a General Recipe
A later participant had five 8 TB NVMe devices. The UI exposed only four for RAID creation even though the fifth device was visible elsewhere, and the user eventually expanded RAID5 manually with mdadm.
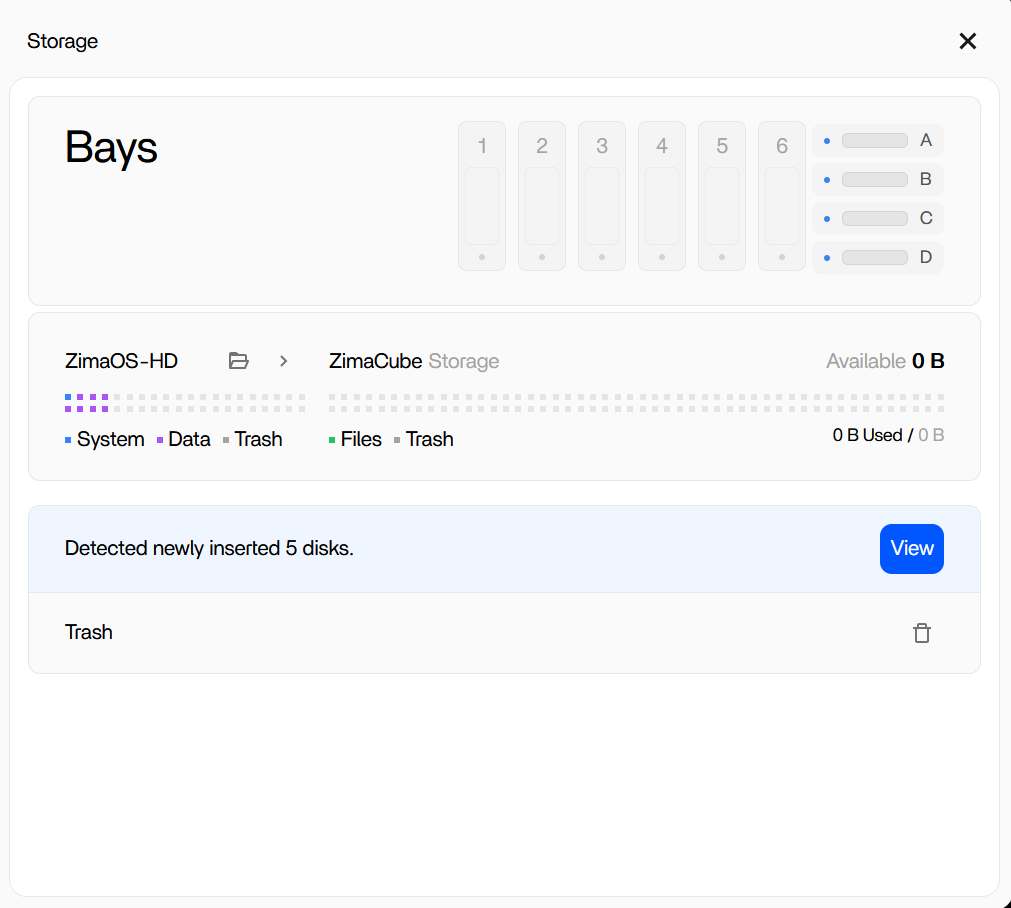
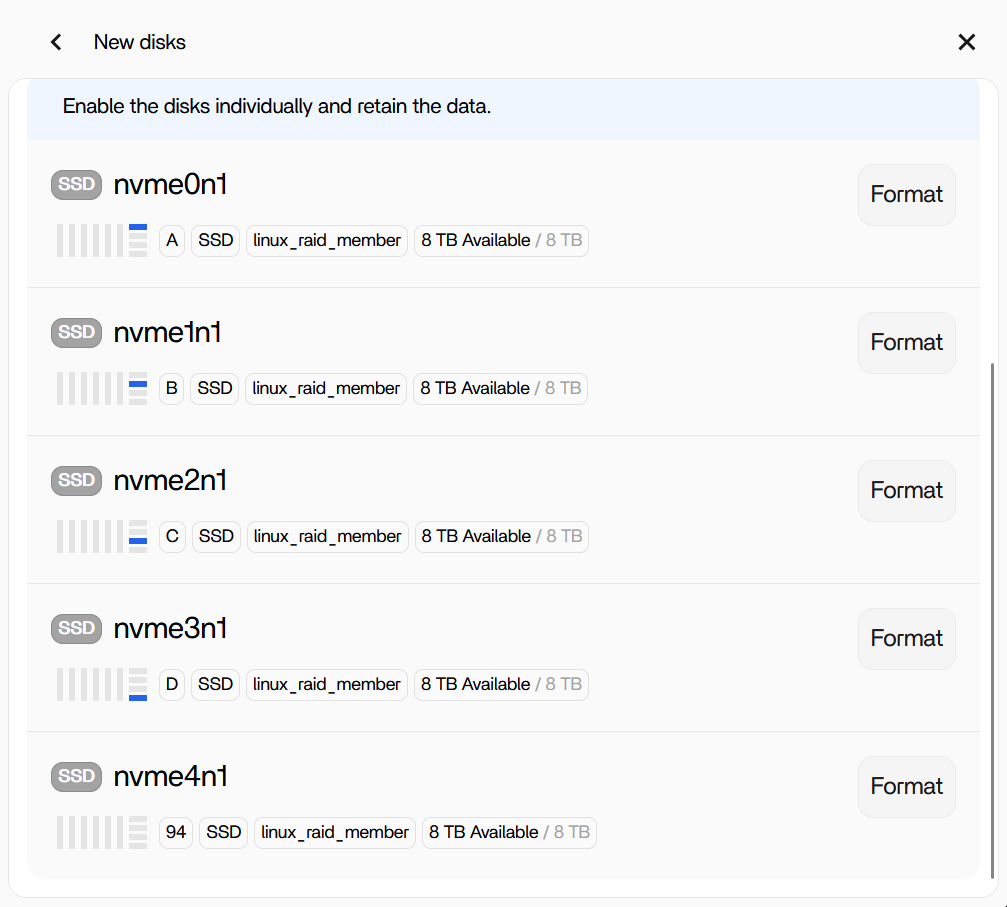
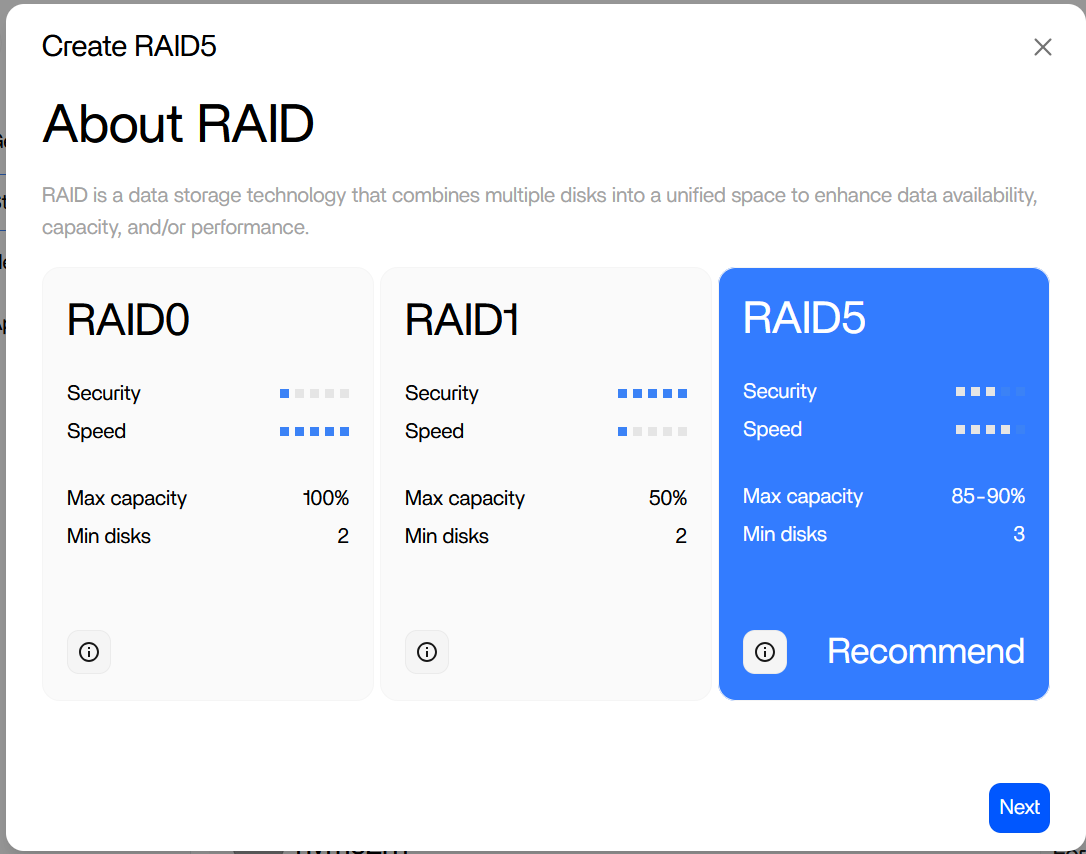
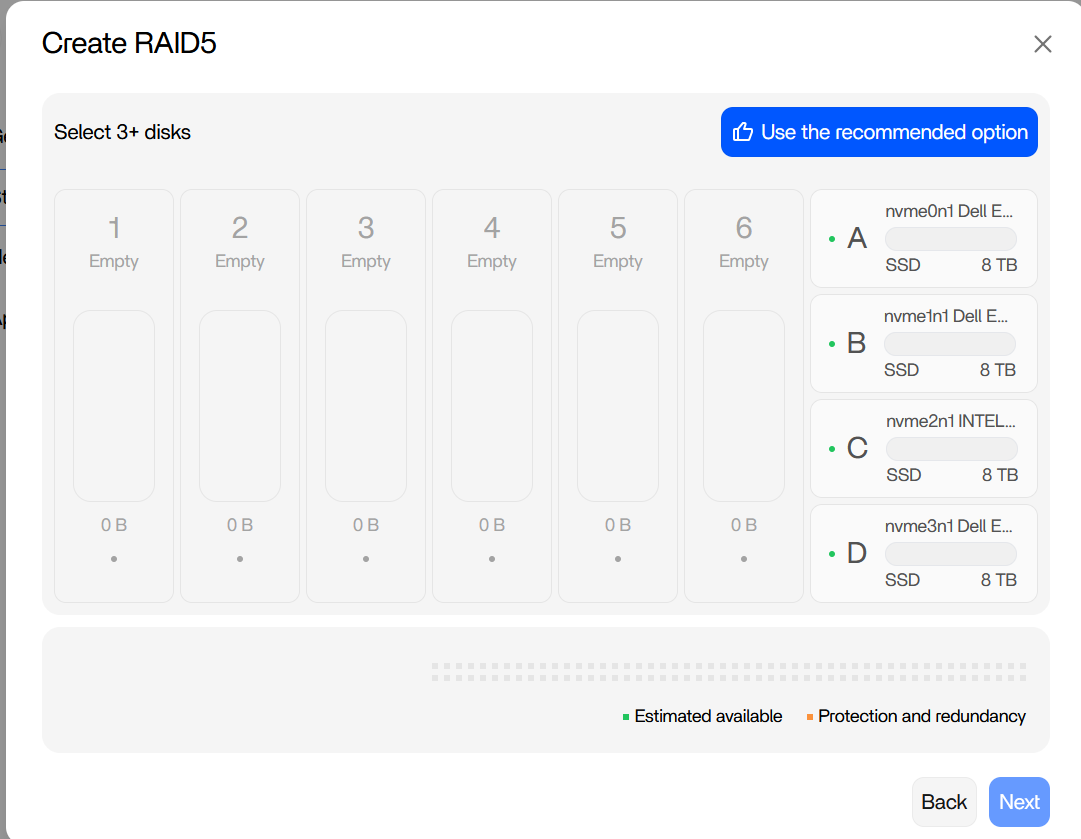
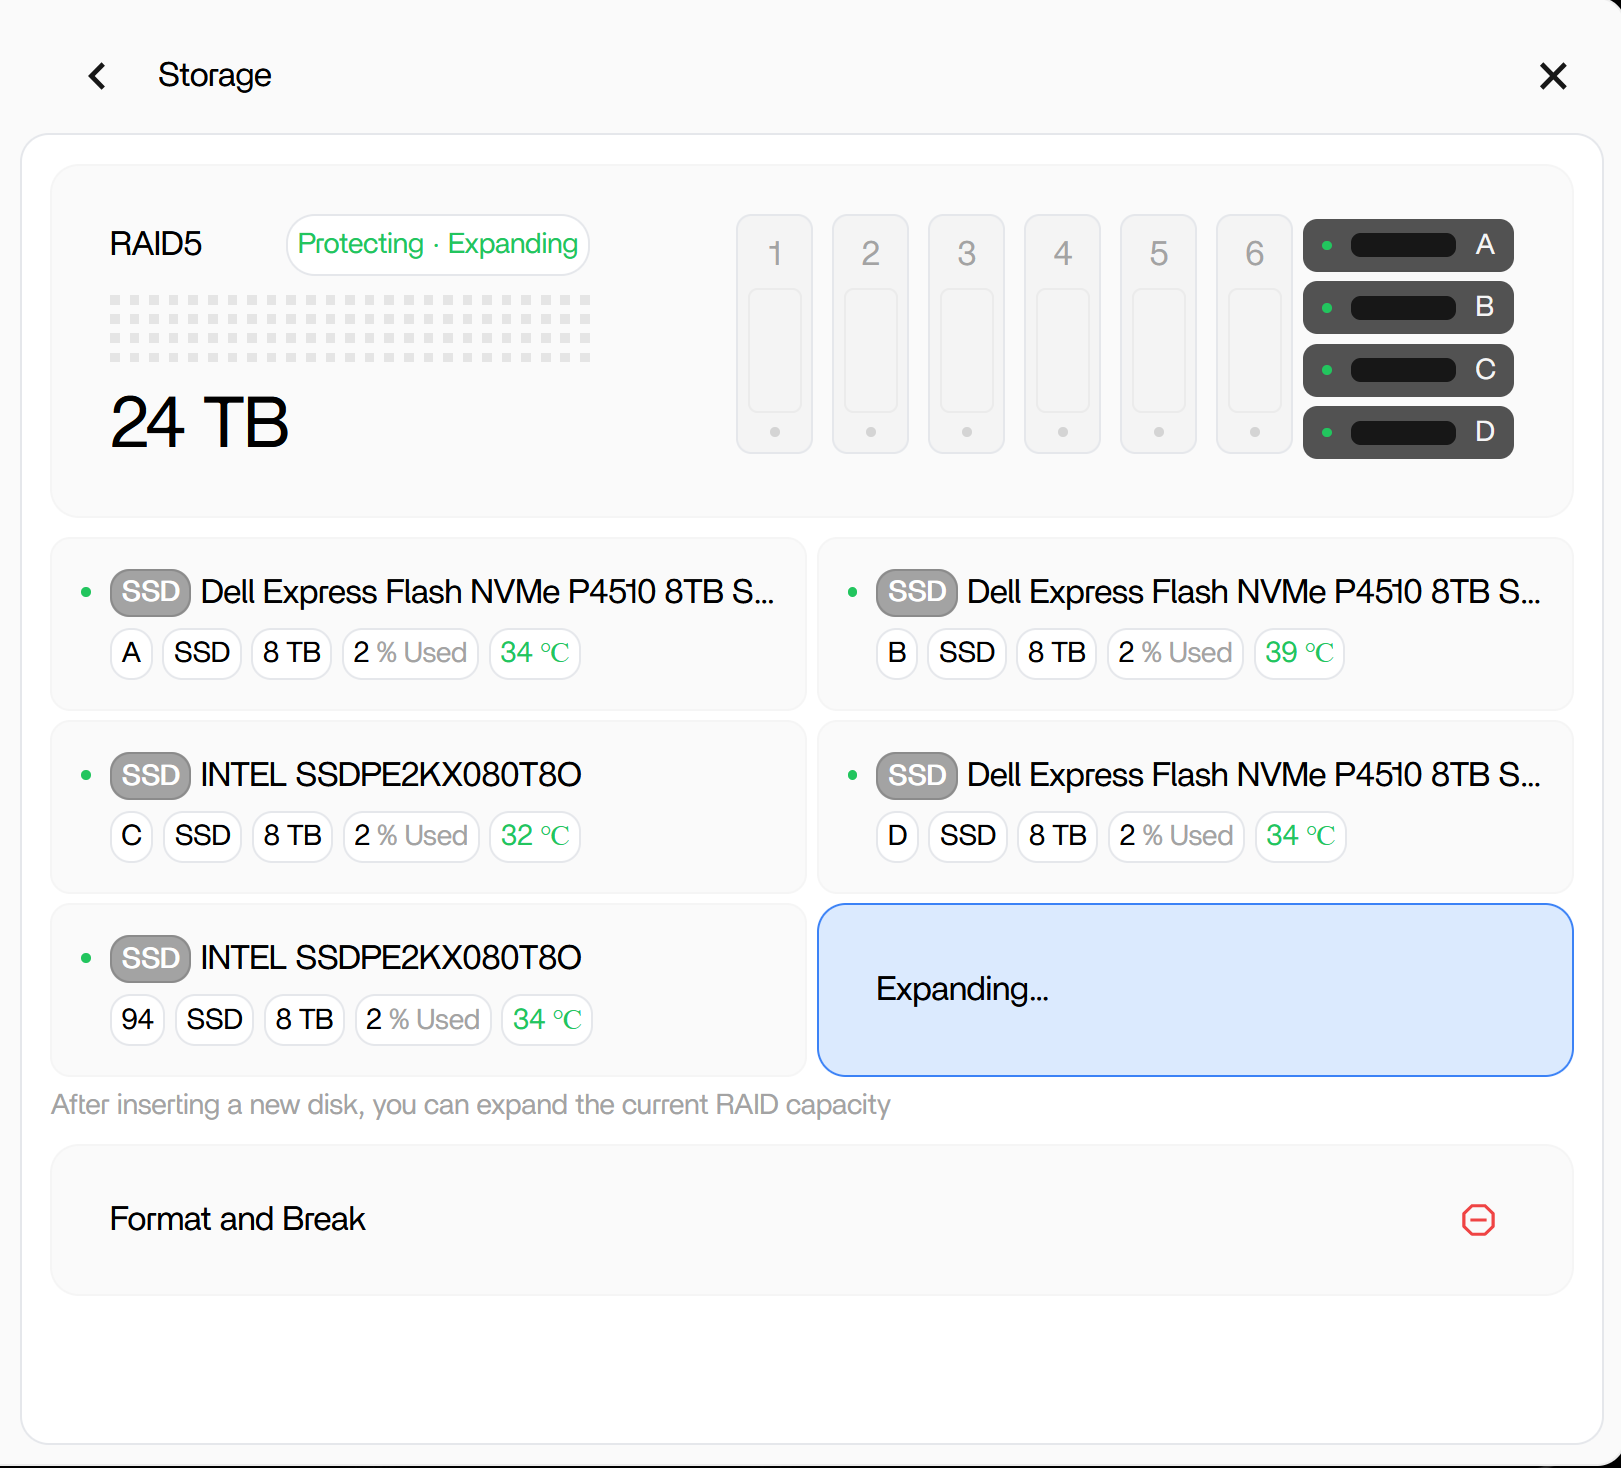
Stopping, reassembling, or growing an array with low-level commands can cause data loss if the device list or metadata assumptions are wrong. For a current system that recognizes disks but cannot use them in the RAID UI, back up important data and escalate with version, lsblk output, controller topology, screenshots, and existing array state rather than copying the old shell sequence.


