
The source user verified that ZimaBoard 2 uses a standard 4-pin PWM fan interface. The community mapped the conventional functions as GND, +12 V, tach/RPM sense and PWM control, then the original poster checked the wires with a multimeter, reused the included fan connector and successfully ran a Noctua fan.
Current IceWhale documentation now removes much of the guesswork: the official ZimaBoard 2 fan kit uses a keyed 4-pin PWM cable connected to the CPU_FAN header, and fan behavior can be configured in BIOS Hardware Monitor. If you have the official keyed cable, use that rather than cutting/soldering wires. Rewiring is only relevant when adapting a third-party fan/connector.
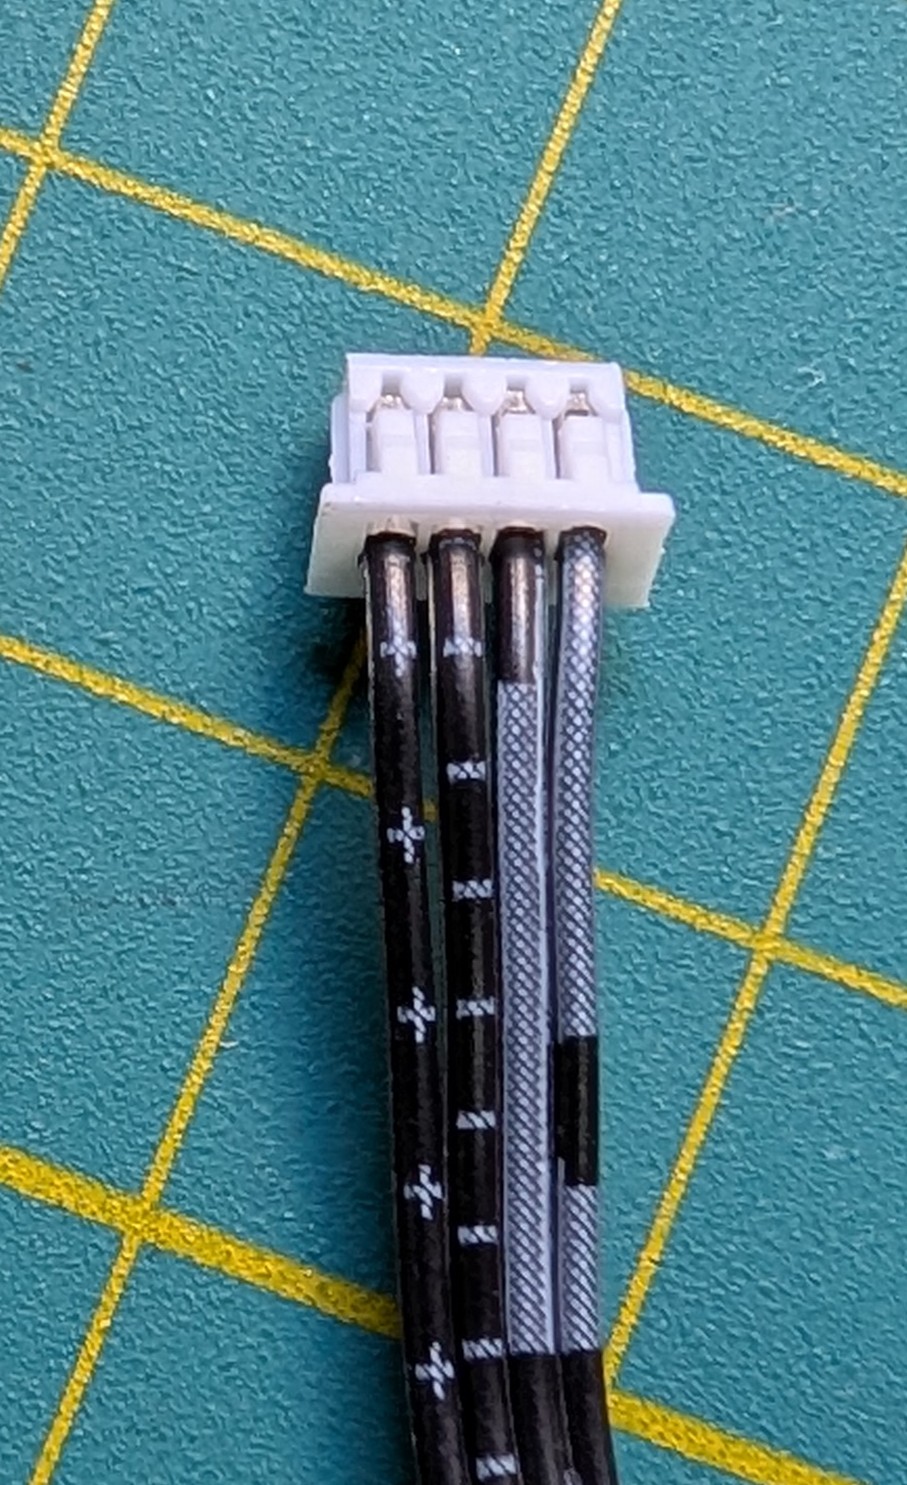
Standard 4-Pin PWM Functions
The community reply listed the standard PC PWM functions as:
- GND;
- +12 V power;
- Tach / RPM sense from the fan;
- PWM control from the board.
The source also gave the common Noctua color convention:
- black → GND;
- yellow → +12 V;
- green → tach/RPM;
- blue → PWM.
Do not rely on colors when adapting an unknown cable; confirm connector orientation and the real pinout.
The Original Poster Verified the Header with a Multimeter
The source test method was to reference the known ground and identify the power/control lines electrically. The user then confirmed the header matched the standard 4-pin layout.
Measuring a powered header risks shorts if probes slip. Use insulated fine probes and avoid bridging adjacent pins.
The Source Reused the Included Fan Cable
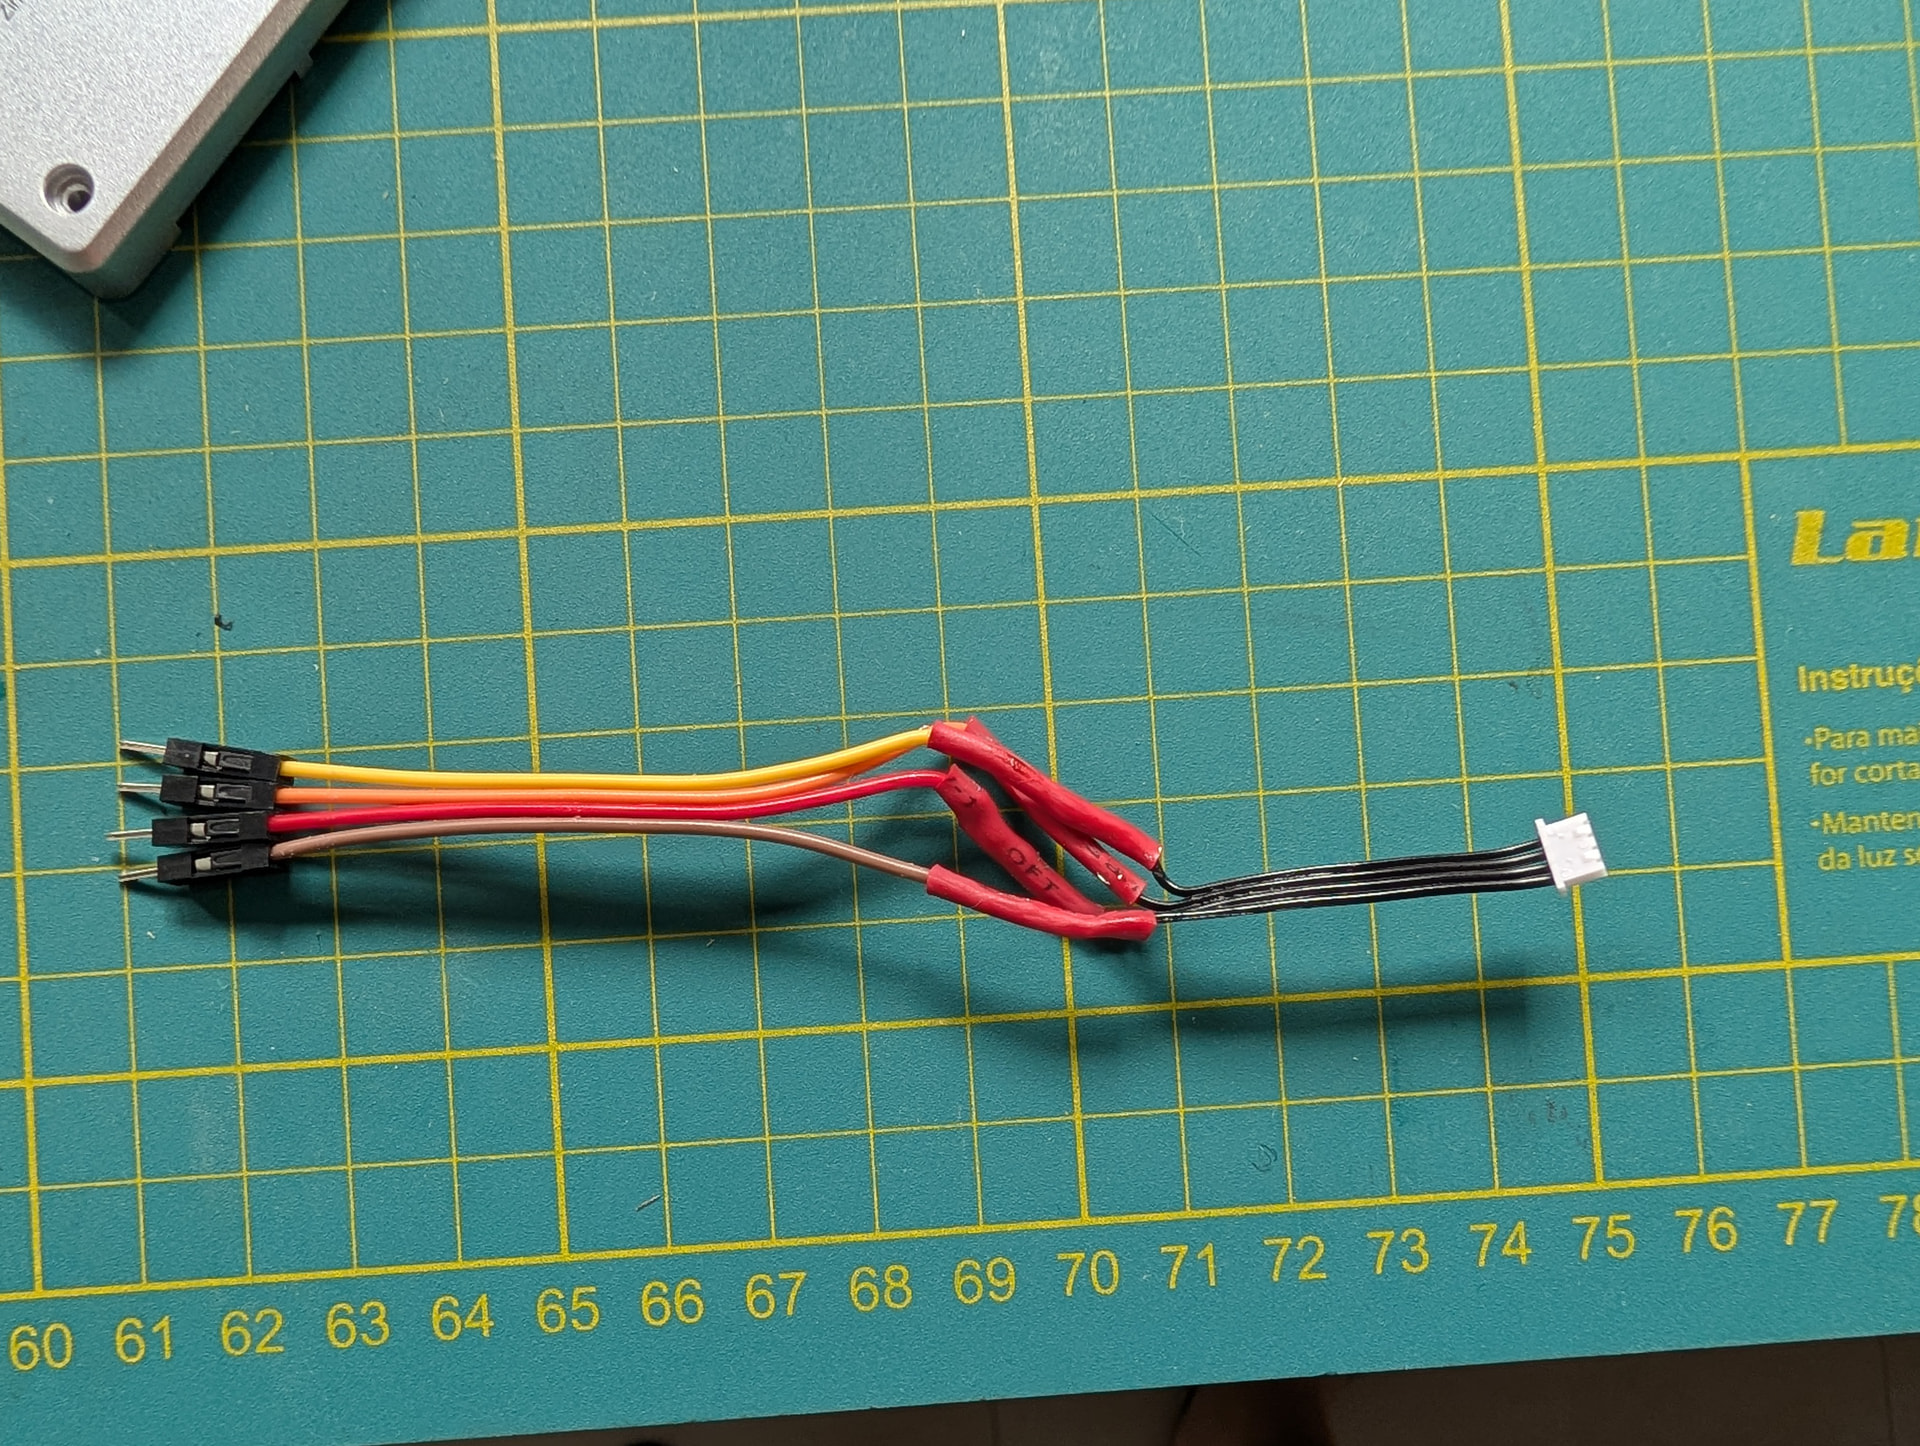
Insulate every splice individually and add strain relief. A short on the 12 V fan header can damage the board or fan.
Current IceWhale Fan Installation Uses a Keyed Connector
The current official guide tells users to power down, unplug 12 V power, remove the rear cover, locate CPU_FAN, align the keyed 4-pin connector and insert it. It also shows safe cable routing and fan mounting.
Use the current ZimaBoard 2 fan guide.
Fan Curves Are Configured in BIOS
Current IceWhale documentation exposes PWM Auto Mode and Fixed Duty Mode under BIOS → Hardware Monitor. Auto mode lets the fan ramp from a start temperature to full-speed temperature rather than running a quiet Noctua at 100% continuously.
PWM 0 Does Not Necessarily Mean the Fan Stops
The current official guide notes that some fans enforce a minimum speed and may continue spinning even when PWM is set to zero. This is intentional anti-stall behavior rather than necessarily a wiring error.
If You Cannot Solder
The thread later suggested using a USB-powered fan or a SATA-power splitter as alternatives, each with trade-offs. The cleanest current option is the official/keyed PWM fan cable or a properly pinned adapter rather than exposed hand-twisted wires.
ZimaBoard 2 Fan Wiring FAQ
Did the original poster verify standard 4-pin PWM wiring?
Yes. They checked it with a multimeter and confirmed their rewired fan worked.
Should I trust cable color alone?
No. Use the connector orientation, official keyed cable or electrical verification for an unknown adapter.
Can ZimaBoard 2 control fan speed?
Yes. Current IceWhale documentation provides BIOS PWM Auto and Fixed Duty controls.


