
Factory recovery rewrites storage, so identify both targets first
The original tutorial creates a bootable recovery USB and then installs CasaOS onto ZimaBlade storage. Both stages are destructive: the image writer erases the selected USB drive, and the recovery installer erases the selected system disk. Disconnect unrelated storage and preserve any recoverable data before proceeding.
The built-in ZimaBlade storage may appear as eMMC or an MMC device, and displayed capacity can differ from the marketed value. Match device type and approximate size instead of selecting “the first disk” blindly. If the installer does not make the target unambiguous, stop rather than risk a SATA data disk.
Create and verify the recovery USB
Use the recovery image linked from the current official support path for your exact model. The 2024 thread originally used a Google Drive file, while a later team reply pointed toward CasaOS releases after users reported incomplete downloads. That reply does not prove every generic CasaOS release asset is a ZimaBlade factory image, so confirm the asset purpose before flashing.
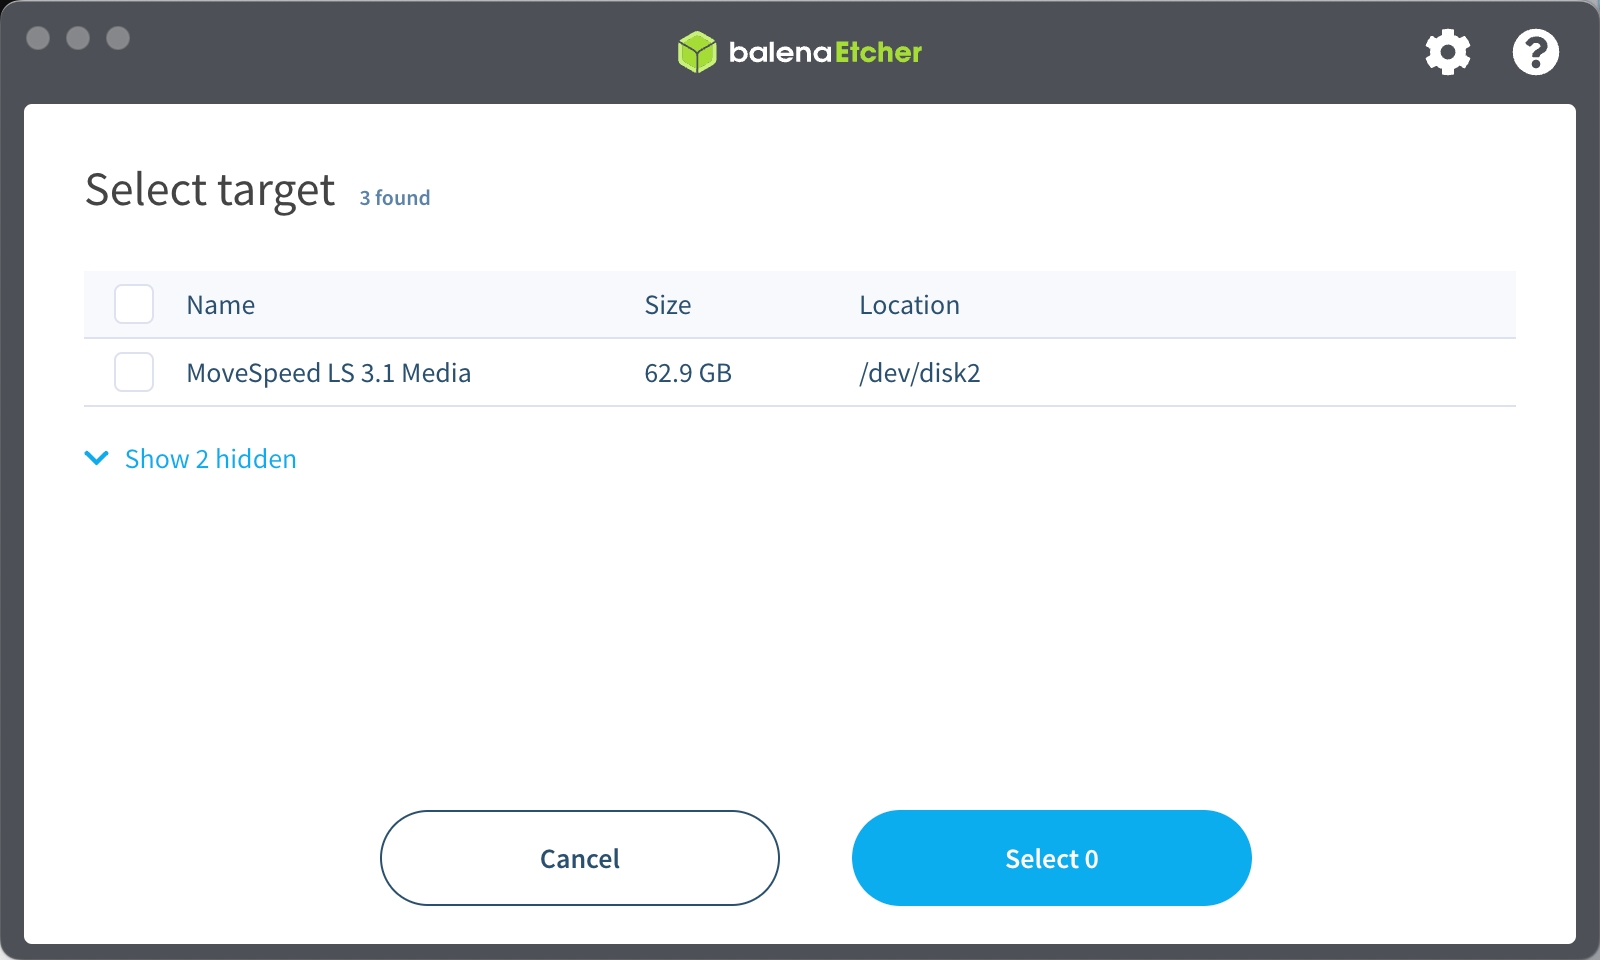
Download Balena Etcher from its official image-writing page, select the recovery image, and select an expendable USB drive of at least the size required by the thread. Verify the downloaded file's size and published checksum when one is available; repeated downloads failing at the same point indicate a transfer problem, not a reason to flash a partial file.
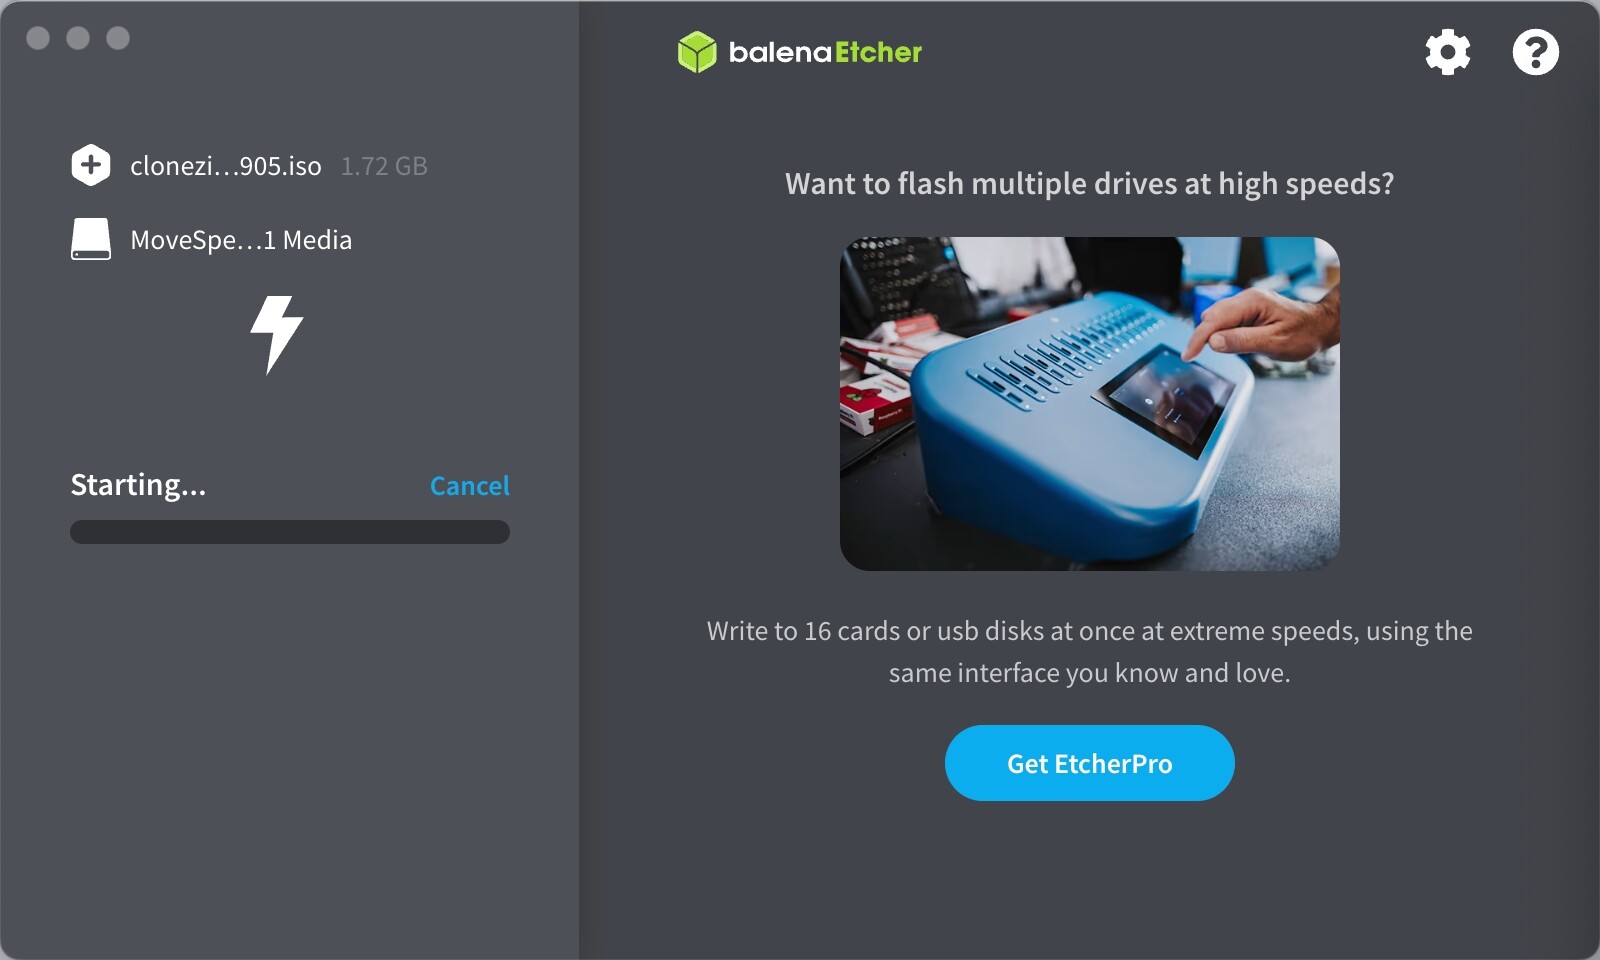
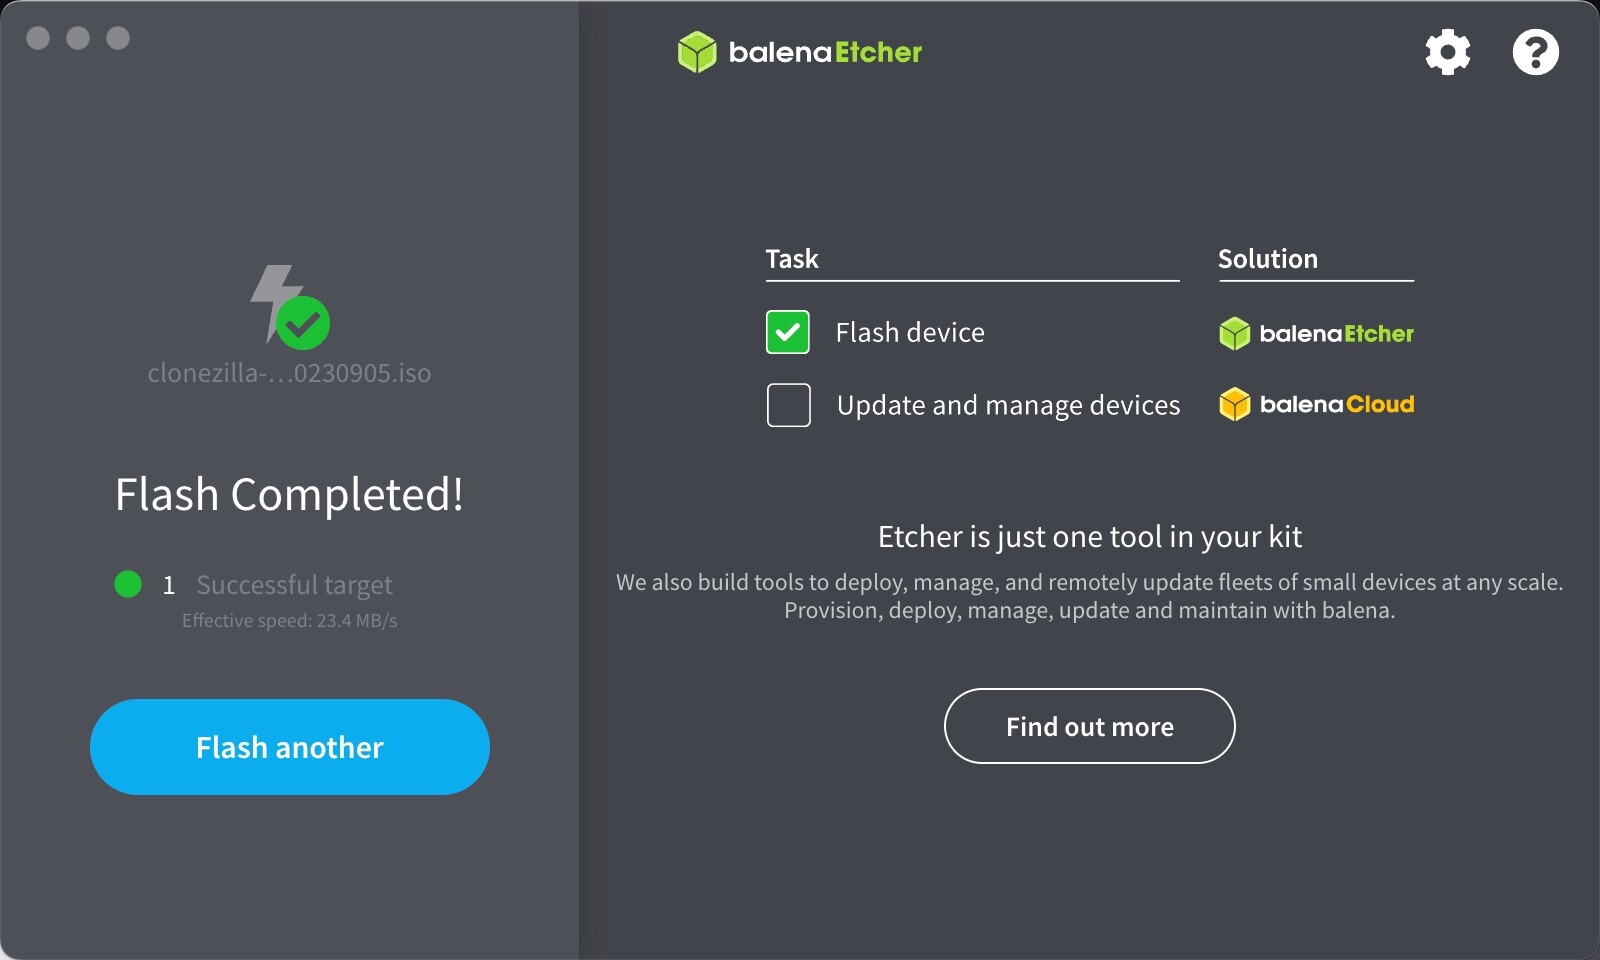
Start the write, allow validation to complete, and eject the USB cleanly. If Etcher reports verification failure, do not continue to the ZimaBlade. Try a different USB drive, port, or download network and preserve the exact error.



Boot the USB and select the internal eMMC
Connect the USB installer, monitor through the required miniDP adapter, keyboard, power, and preferably Ethernet. A hub is optional when ports are limited. Power on and press F11 repeatedly to open the one-time boot menu.
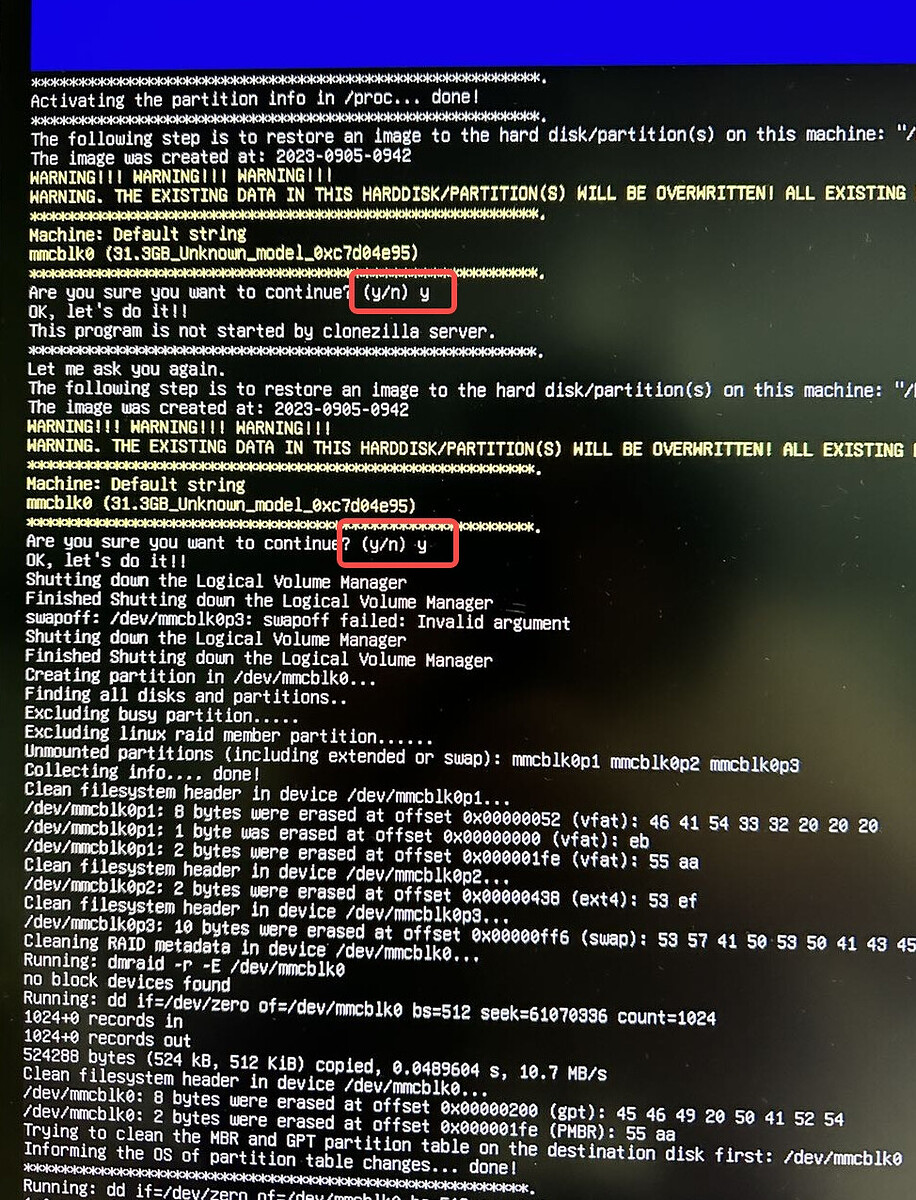
Select the USB entry prefixed with UEFI. Wait for the recovery environment rather than interrupting a blank or busy screen immediately. Follow the menu shown by the recovery image, but pause at every storage selection and confirm the internal eMMC or MMC identity.
Confirm the destructive prompt only after that check. Allow installation and its final countdown to finish. Remove the recovery USB before the next boot so the machine tests the newly installed system rather than returning to the installer.


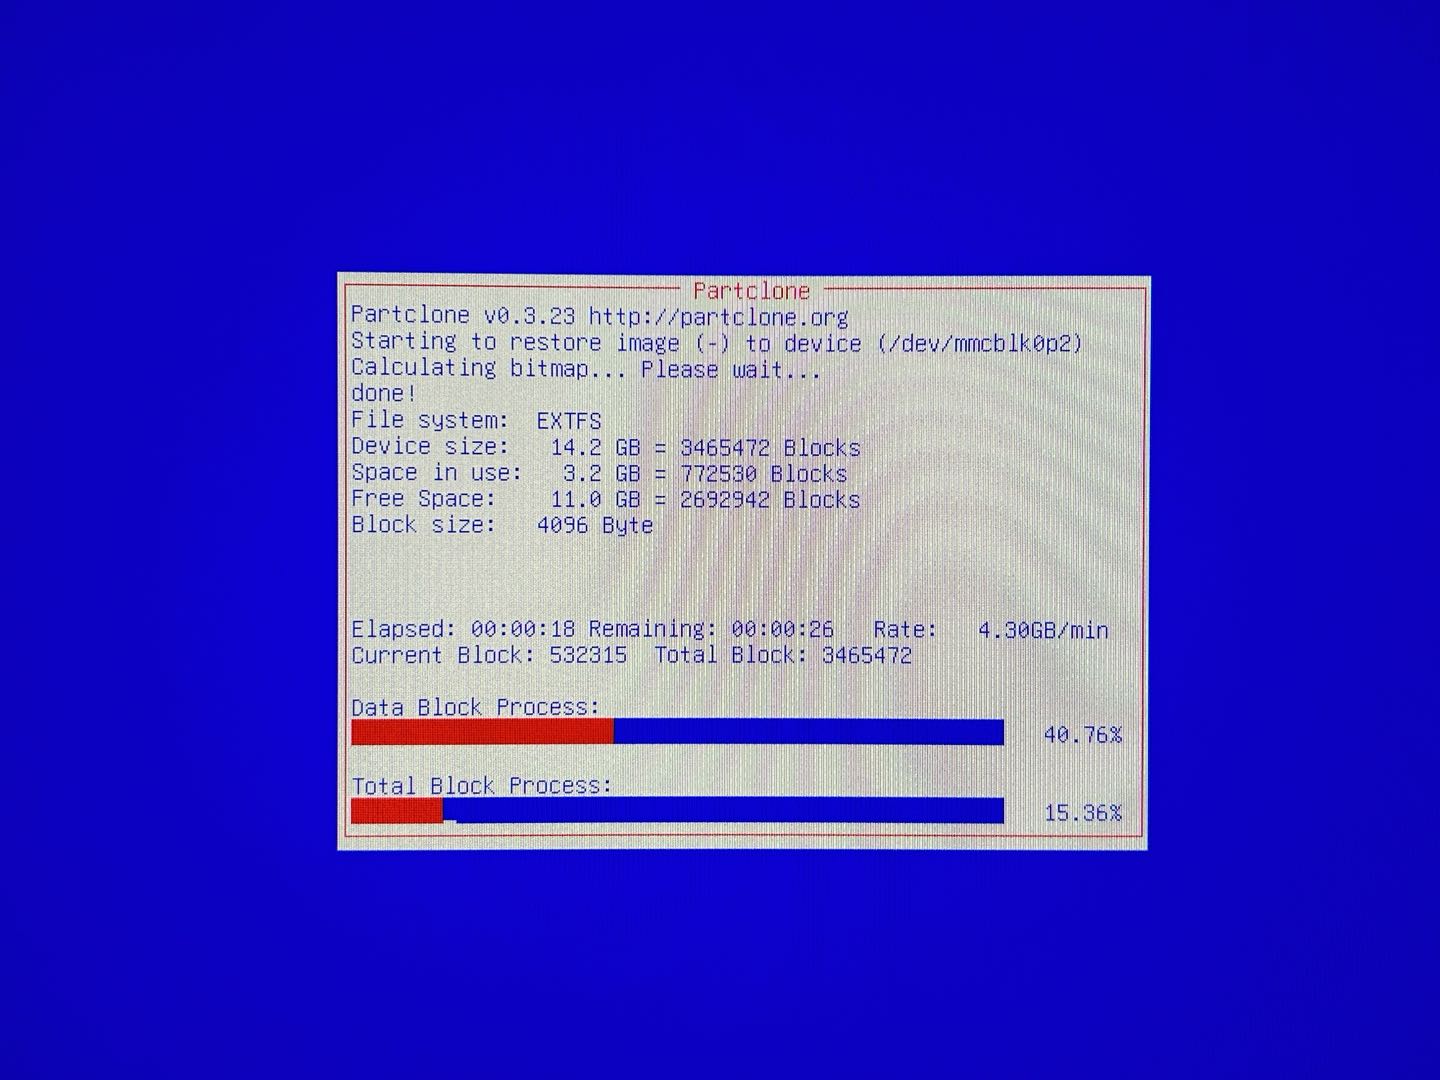
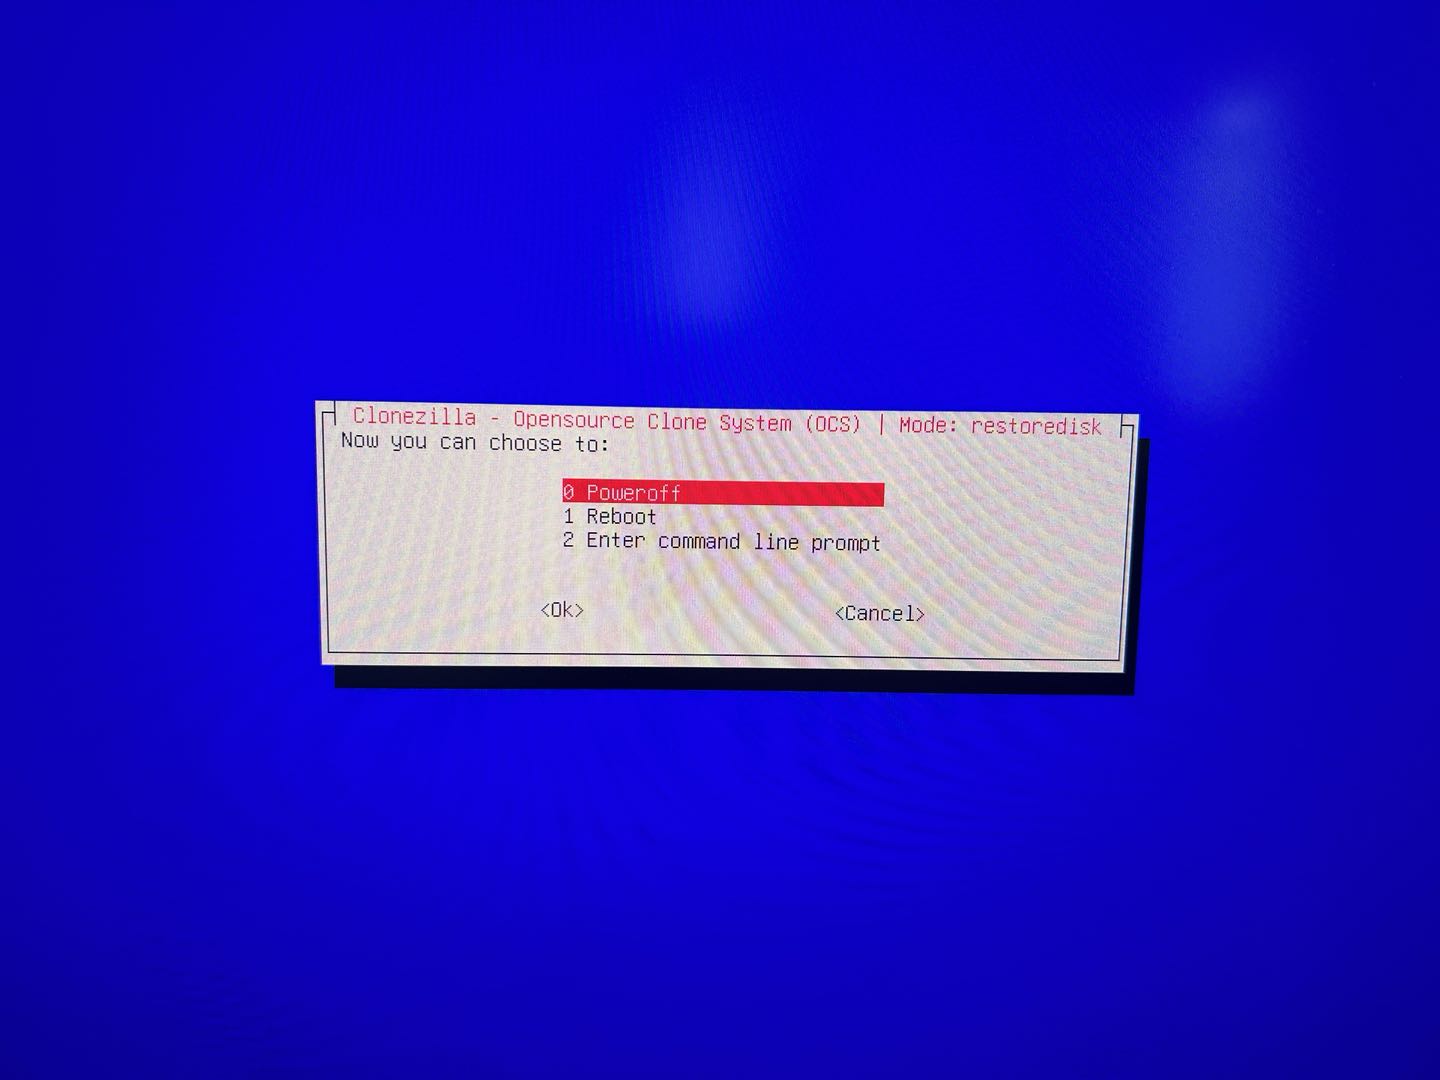
Separate a boot-order issue from a failed installation
If the restart says to insert valid boot media, open the boot menu and look for the internal eMMC entry. Confirm the USB has been removed and that UEFI boot remains enabled. If CasaOS was installed to an external disk, the firmware boot order may need that disk selected explicitly.
If the internal device appears but will not boot, do not run recovery repeatedly without new evidence. Re-check the image source and validation, then capture the installer completion screen and firmware boot entries. The thread contains one unsuccessful post-install boot report but no verified universal cause.
If eMMC is absent from firmware or the installer, stop treating the problem as a boot-order setting. Escalate with the device serial, image filename, checksum result, installer target list, and photos of the boot error. Avoid opening the device or writing to other disks merely to test a guess.
FAQ
Can a normal CasaOS GitHub release restore the factory image?
The thread later links the CasaOS releases page, but it does not establish that every release asset is a model-specific factory image. Confirm the correct recovery asset with current support.
Why does the internal drive appear smaller than expected?
Manufacturers and operating systems report capacity differently. Use device type and approximate size together; ZimaBlade internal storage can appear as eMMC or MMC.
Should I keep retrying after a valid-boot-media error?
Not without a new discriminator. Verify USB removal, UEFI boot entry, target disk, and image integrity, then escalate if the internal device still cannot boot.
The original menu sequence and unresolved reports are in the ZimaBlade CasaOS factory recovery thread.


