
IceWhale's April 2024 Proxmox VE tutorial used a straightforward architecture: create a normal VM in Proxmox, install Linux inside that VM, then install CasaOS on top of the Linux guest. That remains the cleanest interpretation of the source. CasaOS is an application/home-cloud layer installed onto a supported Linux distribution; Proxmox provides the virtual hardware.
For a current deployment, Debian 12 is the best baseline because the maintained CasaOS repository explicitly lists Debian 12 as tested and recommended.
Create a VM Rather Than Installing CasaOS Directly on the Proxmox Host
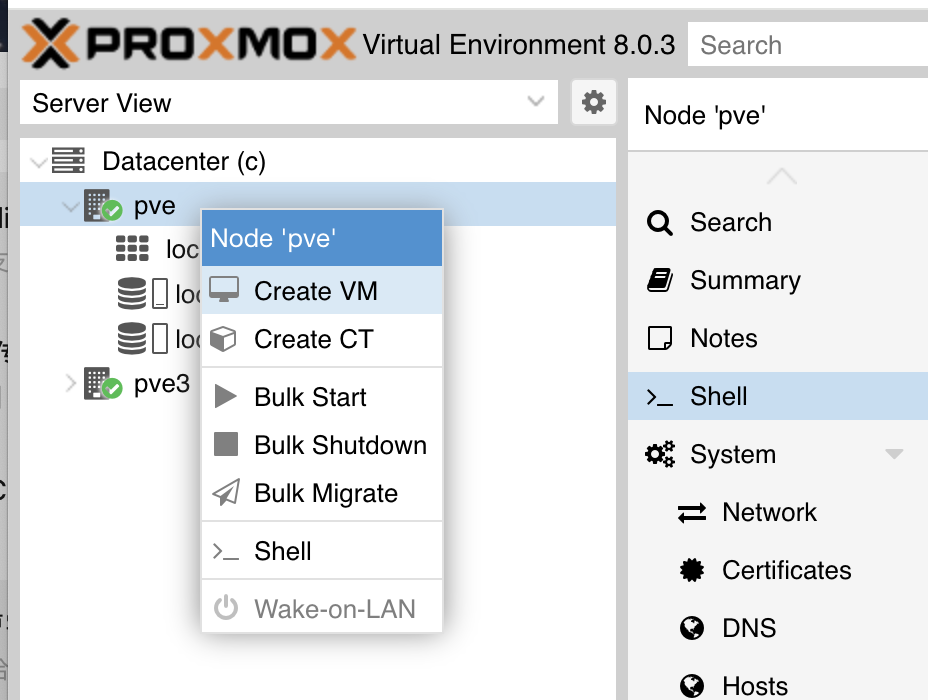
Installing CasaOS inside a guest keeps the Proxmox hypervisor isolated from Docker, Samba, and CasaOS services and makes VM backup or rollback much easier.
Use a Supported Linux Guest
The current CasaOS repository lists:
- Debian 12 — tested and recommended;
- Ubuntu Server 20.04 — tested;
- Raspberry Pi OS — tested on appropriate hardware.
Inside Proxmox on x86 hardware, Debian 12 is the natural current choice.
Review the current CasaOS compatibility and installation requirements before choosing a guest distribution.
Allocate Storage for Future AppData, Not Only the Base OS
The 2024 tutorial already warned users to allocate enough resources, especially storage. That warning becomes more important once Docker applications start accumulating databases, thumbnails, downloads, and media metadata.
If the VM will only manage external/NAS storage, its virtual boot disk can remain modest. If application data will live inside the VM, plan much more capacity or attach a separate virtual disk.
Bridge the VM onto the LAN When You Want Normal NAS Access
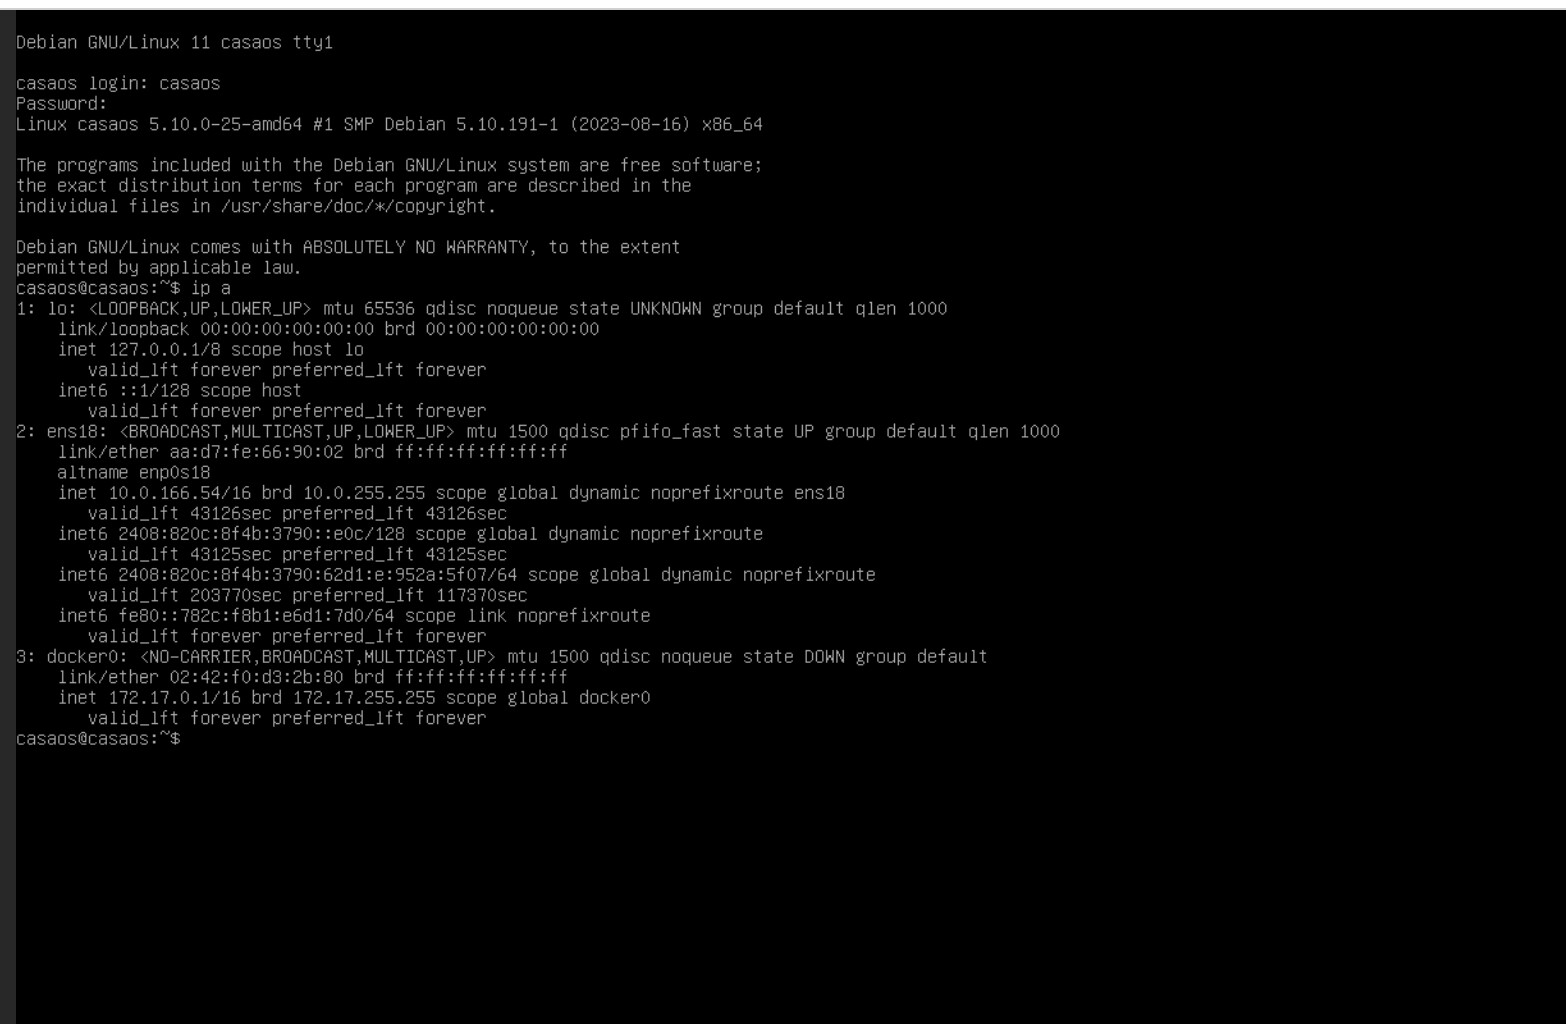
CasaOS is easiest to use when the VM receives a normal LAN address through the Proxmox bridge. That lets browsers, SMB clients, and other home devices reach CasaOS directly without complicated nested NAT.
Record or reserve the guest address after installation so bookmarks and mapped shares remain predictable.
Install Debian in the VM First
The source tutorial shows the Linux guest installation as a separate stage before CasaOS.
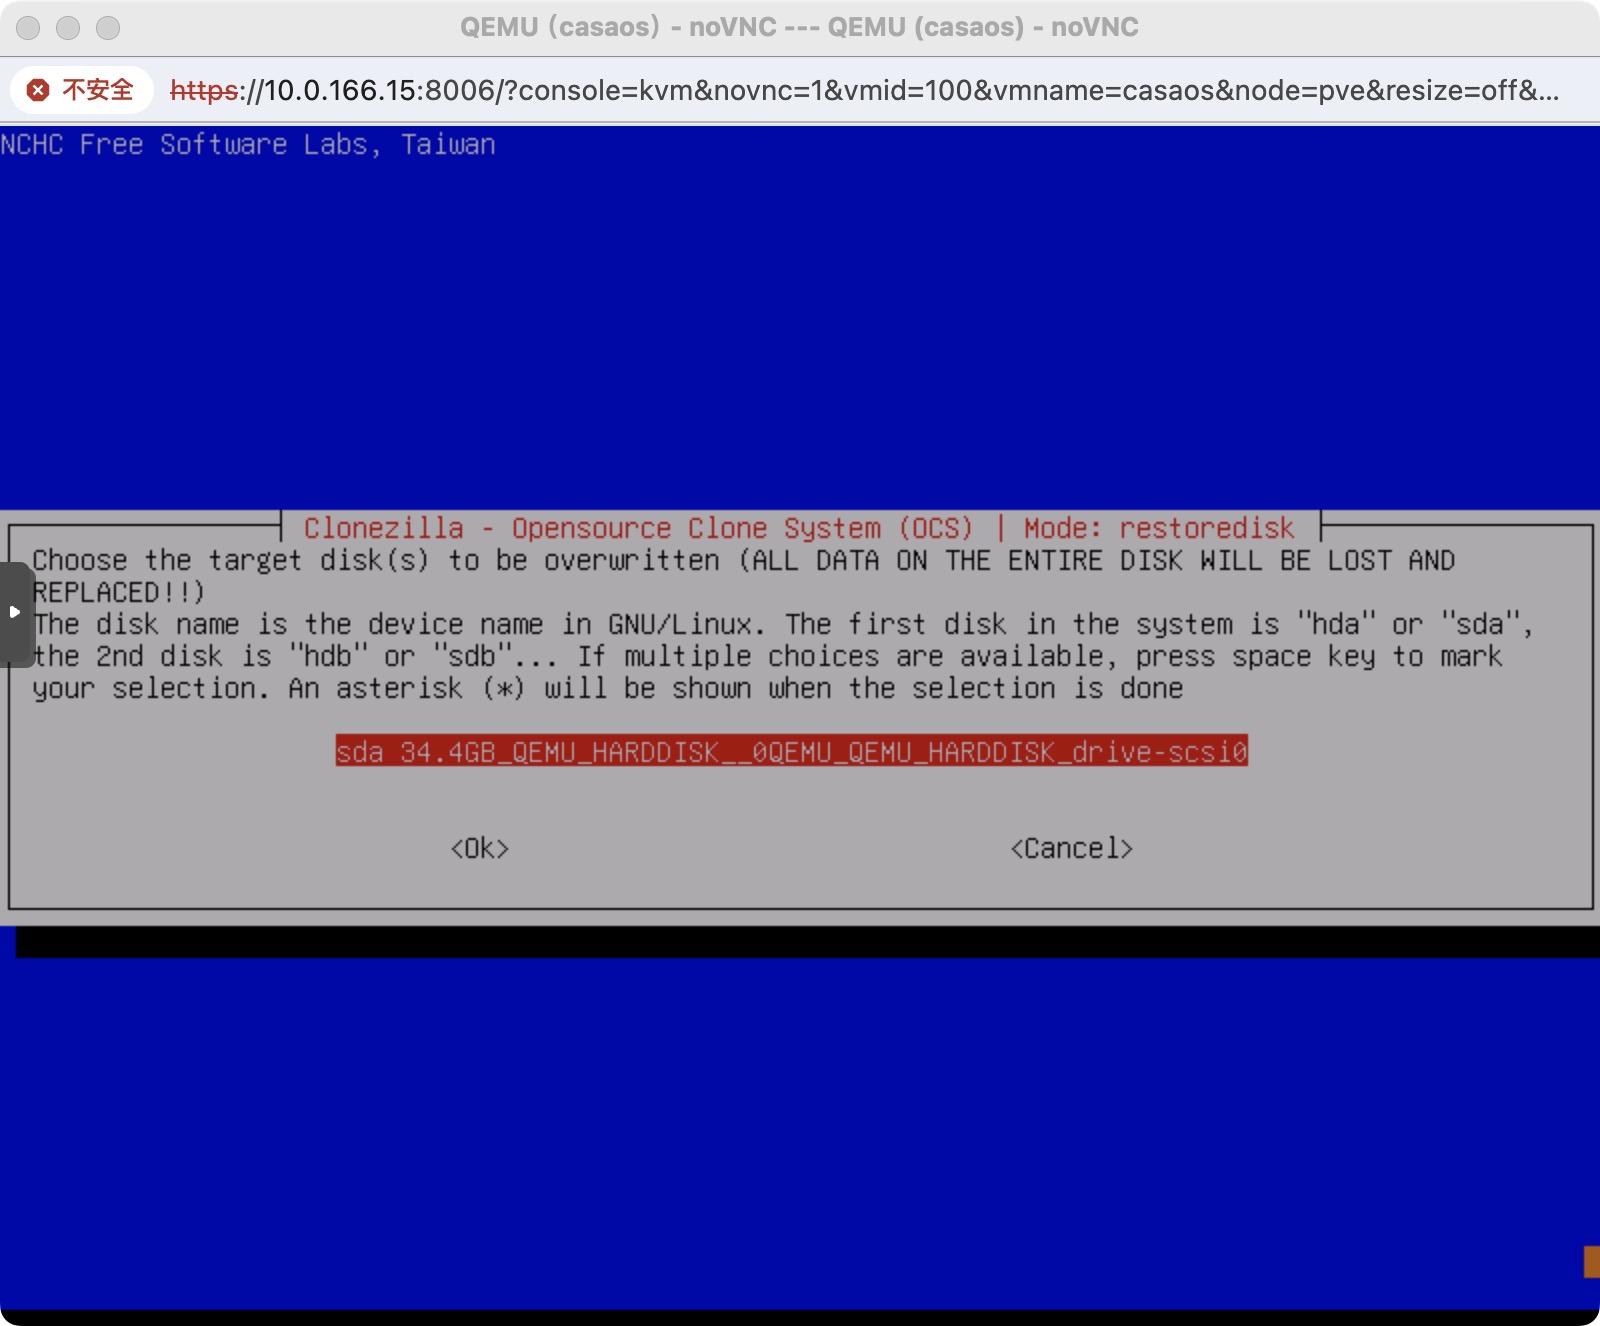
Use the Current CasaOS Installer Inside the Guest
The maintained CasaOS repository publishes the one-line installer through get.casaos.io. Because it runs system installation commands as root, inspect the current project and ensure the guest has working DNS/HTTPS before running it.
The current installer expects a supported Linux distribution and installs Docker-related CasaOS components and system services inside that VM.
Find the Guest IP After Reboot
Use Proxmox Backup and CasaOS Data Backup for Different Layers
A Proxmox VM backup can capture the virtual machine disks and configuration. Application-aware backup still matters for databases and externally attached storage that may not live inside the VM disk.
Do not assume a snapshot of the boot disk protects media mounted from another NAS or passed-through disk.
A VM Is the Safer Default Than an LXC for Docker-Centric CasaOS
The source introduction mentioned both VM and LXC possibilities, but the actual tutorial uses a VM. Running Docker inside an LXC can require nesting and additional privilege/cgroup decisions. A normal VM provides a cleaner isolation boundary for users who mainly want CasaOS to work.
CasaOS on Proxmox FAQ
Should CasaOS be installed directly on the Proxmox host?
The source tutorial instead creates a separate Linux VM and installs CasaOS inside it.
Which current Linux base is recommended by CasaOS?
The maintained CasaOS repository lists Debian 12 as tested and recommended.
Can Proxmox snapshots replace backups of external storage?
No. Data outside the VM disk needs its own backup plan.


